
In this blogpost, we’ll cover some of the most powerful RipX DAW uses for editing, transforming and re-using your ripped, newly recorded or about to be recorded audio, demonstrating that RipX DAW isn’t just for stem separation, but a super powerful and unique creative companion containing all kinds of valuable audio editing and recording innovations.
Need to record via an audio input or MIDI/MPE, or do groundbreaking work with original or separated samples and instruments like replacing and blending them with others, plus creating and adding a variety of Time, Pitch, Level and Combo Effects? No problem – get a free, 21-Day RipX DAW trial or get the latest version that’s right for you.
As this RipX DAW blogpost explains, you can rip and assign your favorite VST instrument presets to any MIDI/MPE controller for transforming and re-performing using RipX DAW’s Sound Panel, although there isn’t currently the ability to use your third party plugin effects library.

However, whilst this may seem like a limitation compared to a typical DAW, RipX DAW does in fact come bundled with a wide range of dynamic and creative yet easy-to-use native audio effects, the parameters of which can all be controlled, combined and automated together in limitless number of variations known as Combo Effects – in a similar way to chaining plugin effects together in a DAW, but with the added advantage of MIDI/MPE assignment, super-fast drag and drop and single slider simplicity, combined with the unique processing power of the Rip Audio format! Let’s explore some typical workflows using a variety of RipX DeepCreate’s effects.
Part 1 – Record melodies with your voice, apply Effects, transform them into other sounds and instruments, then apply more Effects
One incredibly fun and powerful application of RipX DAW is to use it as a sketchpad or sound design tool for recording and developing ideas formulated in your mind.
Whether you may have thought of a melody in the shower, dreamt it and woken up with a number one hit in your head, improvised it while learning/practicing your instrument using RipX DAW or hummed it to yourself while taking the dog for a walk – as a creative person, inspiration can strike at any moment. RipX DAW enables you to record any idea quickly and easily with no complex set-up or routing processes involved, ensuring that no ideas are ever lost or forgotten about!
One of the best ways to do this is by singing and recording a melodic idea for an instrument part such as a keyboard or bassline into a microphone, processing it with RipX DAW’s effects, and changing your voice notes into a stock sound or VST instrument preset (after recording or in real-time).
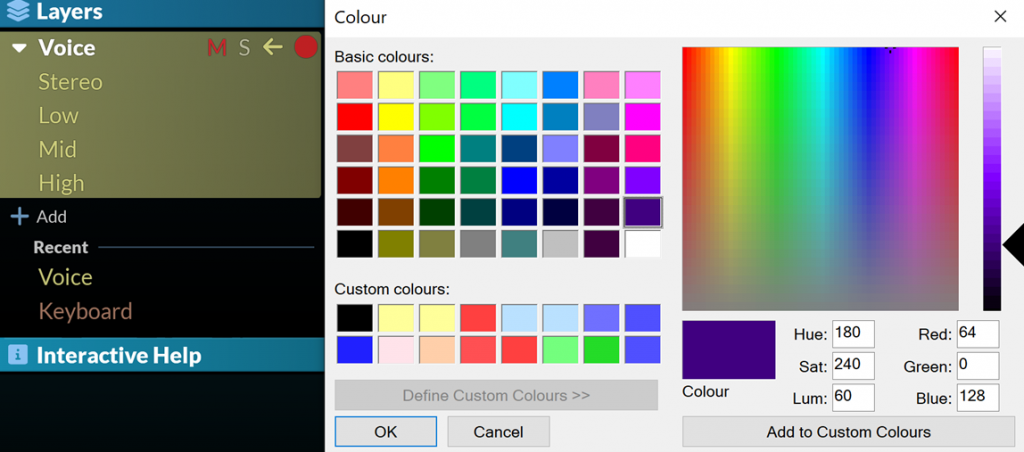
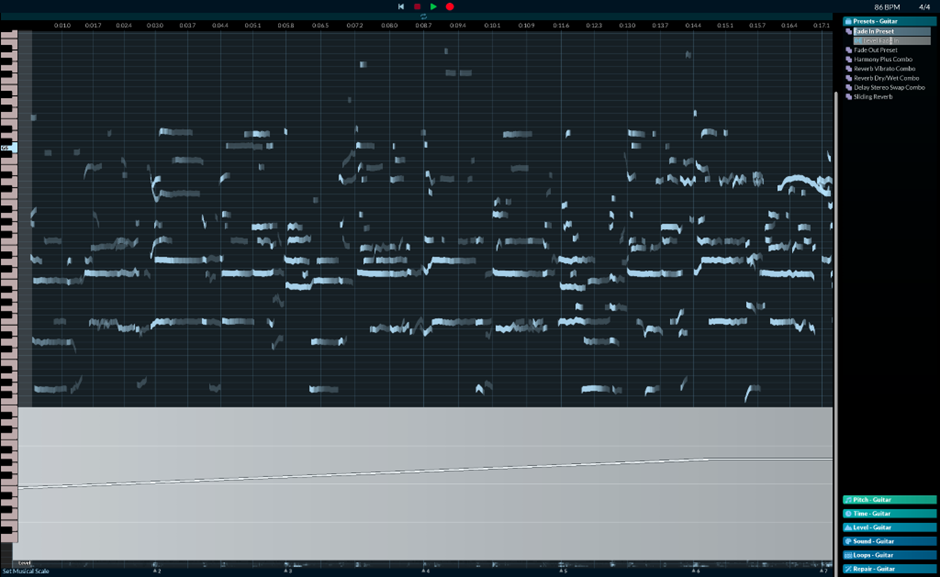
With the melodic idea firmly stuck in your head, start RipX DAW select and create a new Voice Layer by pressing + Add in the Layers Panel, right click on the Layer, select Change Colour and then choose the color you want the Layer to be.
If the idea you have is particularly positive, upbeat or in a major key, then why not select a corresponding color like yellow or orange? If it’s more melancholic, sad or in a minor key, why not choose a darker color? Or maybe choose a color corresponding to your mood at the time?
Now all notes, effects and even the playhead at the Layer level will be in your chosen color.
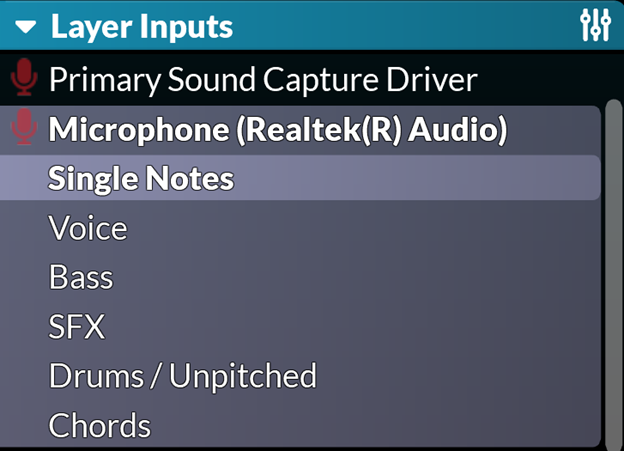
Next, open the Inputs Panel and select your computer or hardware microphone input.
Set your desired tempo and time signature in the top right of the UI. This can always be adjusted later on, so it doesn’t have to be exact for recording initial ideas.

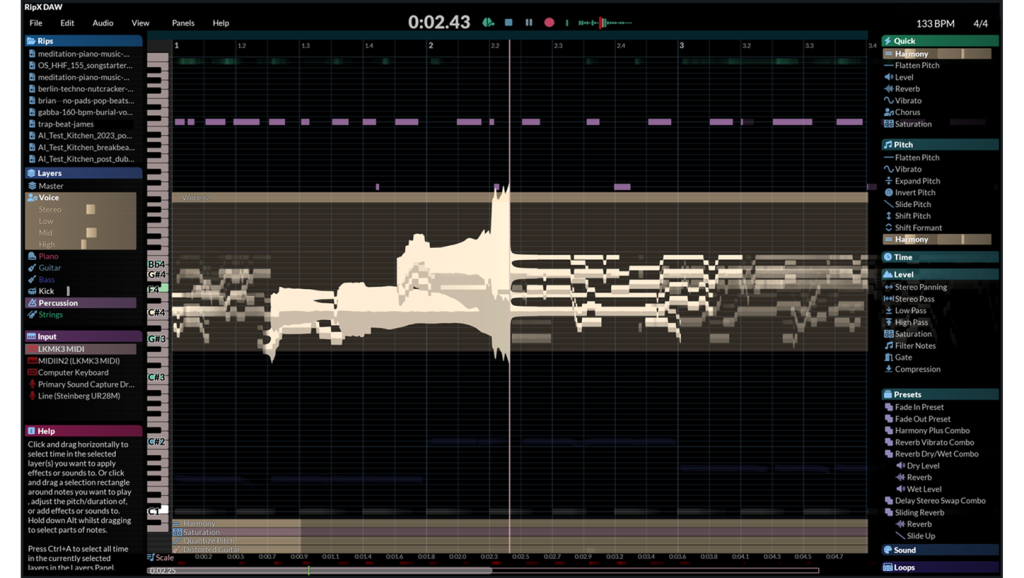
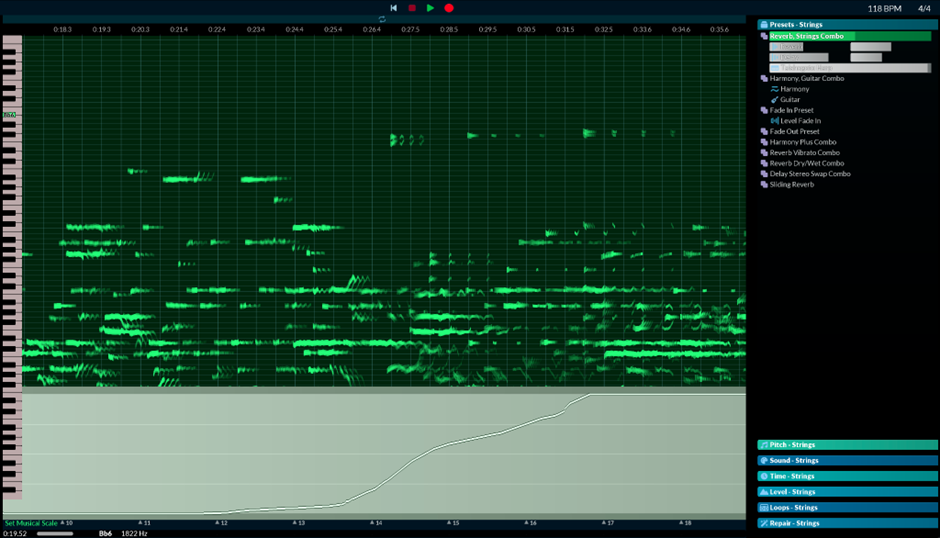
Press record and after a short count-in, sing your melodic idea into your microphone. You will then see your sung notes appear as you go, in your chosen color on that Layer and at the pitch you sung them at.
After recording, if you haven’t performed the part with your voice exactly as you want it, you can always move notes around by left-clicking and dragging, or right-clicking to select and using one of the available tools.
Click the Layer and press the spacebar to play back your take whilst hovering your mouse (but not clicking) in real-time over the sliders of various Time, Pitch and Level-based Effects to hear and see what your notes would sound like once processed using any of those Effects.
This dramatically cuts down auditioning time vs the traditional DAW plugin auditioning methods. Plus – with RipX DAW, what you see is what you hear!
Once you are happy with a certain effect, simply left-click on a slider value to have that effect and the applied amount locked in place and turn the same color as your Layer as a useful visual reference.
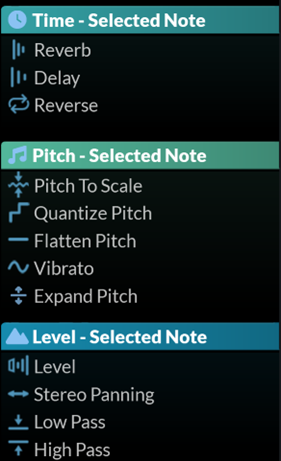
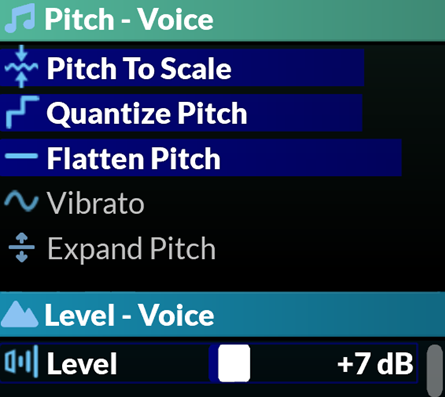
Some common effects to use before transforming your voice into an instrument preset are Pitch To Scale to tune your voice to the Set Musical Scale, Flatten Pitch to make your voice notes more like MIDI notes and omit unwanted expression characteristics, plus Quantise Pitch and Level to even-out the volume of each note and make your phrasing sound more consistent.
The other way to apply effects to your voice and something worth learning and experimenting with, is assigning any effects parameter to a knob or fader on your MIDI controller, or even to your hands via MPE, for the ultimate in expressive output.
This is especially useful if you aren’t a particularly good singer, someone that can easily go out of tune; or conversely, someone who can sing a bit too dead-pan without enough expression or character.
Try assigning the Pitch To Scale and Vibrato sliders to your choice of knob/slider/body movement.
To do this, with your chosen controller plugged-in, press the slider icon in the Inputs Panel, nudge/twiddle the controller slider/knob to assign, then left-click each RipX DAW effects slider that you would like to be controlled, before pressing the slider icon again. Now, when you hit record and sing your notes, adjust your sliders at the same time to taste to get the amount of pitch correction and vibrato you need for a particular performance – however subtle or extreme.
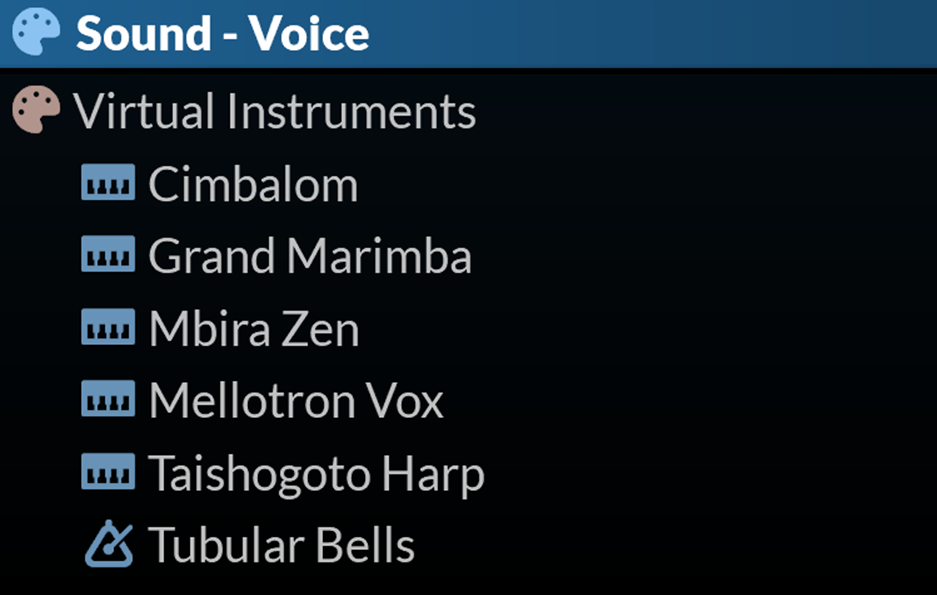
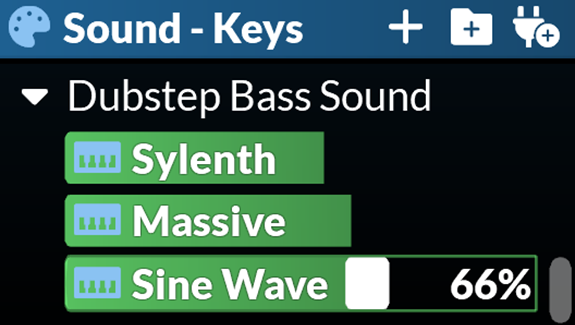
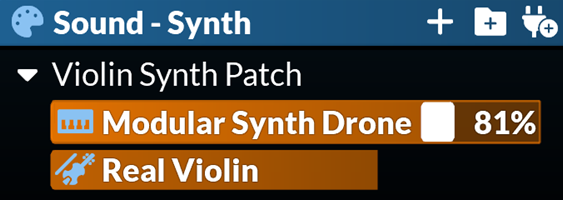
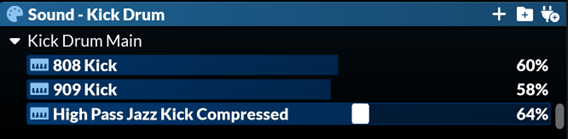
Once you’ve recorded or edited your voice using Steps 1 or 2, it’s time to select sound(s) or VST preset(s) to transform or blend it into. RipX DAW comes bundled with a selection of hand-picked instruments, percussion, SFX and loops – get started with these sounds, available from the Sound Panel.
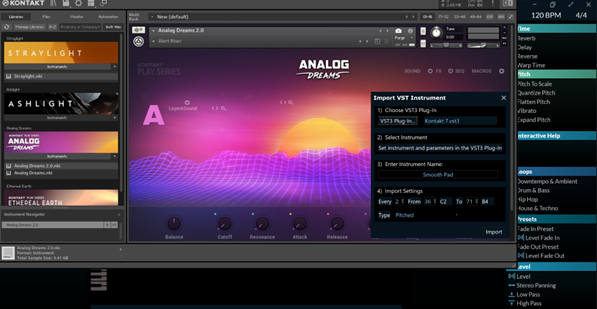
You can also rip your favorite VST3 instruments by clicking this icon:

Choose what pitches are imported on a chromatic scale and once the sounds, samples or instruments are imported, they can be used like any other.
Here’s an example showing how to easily record and transform sung voice notes into a bass part.
Part 2 – Rip recordings, save sounds from any Layer, then transform or blend new parts into them
One of the hidden powers of ripping and isolating instrument notes from any recording using RipX DAW, is that you can find and extract your favorite instrument tones and save them in the Sound Panel to use for blending or completely transforming existing notes and Layers into.
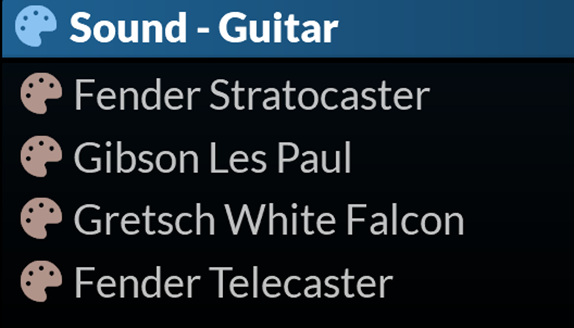
Say for example, you rip a recording where a rhythm or lead guitar part is played using a Fender Stratocaster or a tone that sounds like a Fender Stratocaster. You like the melodic part, solo, chord progressions or performance, but would prefer to mix in the tone of a Gibson Les Paul to give it a richer-sounding, more unique texture. Well this can be done using RipX DAW!
Simply find a high-quality sounding aiff, wav or flac file of a recording containing a clear Gibson Les Paul part. Rip it, isolate that Layer, click on one of the notes and then the + symbol at the top of the Sound Panel to have that note, tone or sound added to the menu. Repeat for notes of as many different pitches as possible.

Find the new Gibson Les Paul sound added to the menu. By default, it will be named the same as the rip it came from, so locate that, then right click it and change its name to ‘Gibson Les Paul’ or whatever you wish.
Then select all notes in your original Fender Stratocaster part by selecting the Guitar Layer which will select the notes, press spacebar and then as the playhead moves through the guitar notes, move the Gibson Les Paul sound slider somewhere from 30-70% and listen to the newly enriched guitar tone. If it isn’t exactly how you need it to sound, try ripping, assigning and experimenting with Gibson Les Paul or other guitar sounds from your other recordings to find the one you like the best, and also try blending some at lower percentages, or even completely replacing by moving the slider to 100%.
Top Tip: To improve the quality, first remove any notes that shouldn’t be there, either by deleting them, or if they are overtones, join with the lower note they are part of using Cmd/Ctrl+J.
You may wish to take this a step further by building up a library of your favorite guitar tones for blending in the Sound Panel, or curating libraries of other instrument tones like keyboards, wind instruments, drum hits and sound effects. Only RipX DeepCreate enables tone transformation and blending in this way!
Top Tip: If recorded characteristics of your voice once transformed lead to wobbly or inconsistent-sounding pitches, it’s often best to select those notes and flatten them using the very useful Flatten Pitch Effect to sound more constant. This is particularly useful when transforming or blending into a wide-range of basslines, keyboard, string and percussion sounds.
Part 3 – Create and automate Combo Effects and transformed or blended sounds
Once you’ve got a new sound playing your sung notes, you can take it a step further by using extra effects to create an even more customized, original-sounding instrument Layer.
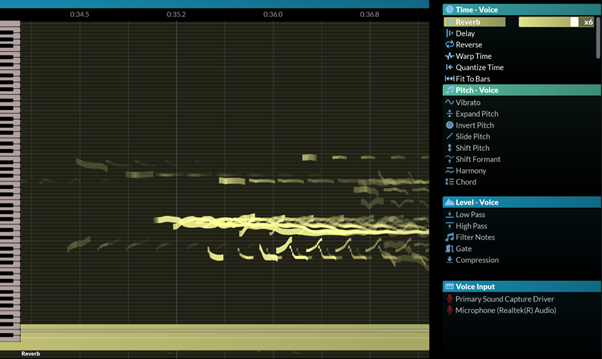
The usual choice of effects to apply to most vocal, instrument and sfx parts such as Reverb, Delay and Filter Effects are readily available in the Time and Level Effects Panels, but why not go deeper and blend/automate them with different sounds altogether, by simply dragging and dropping a combination of both onto each other.
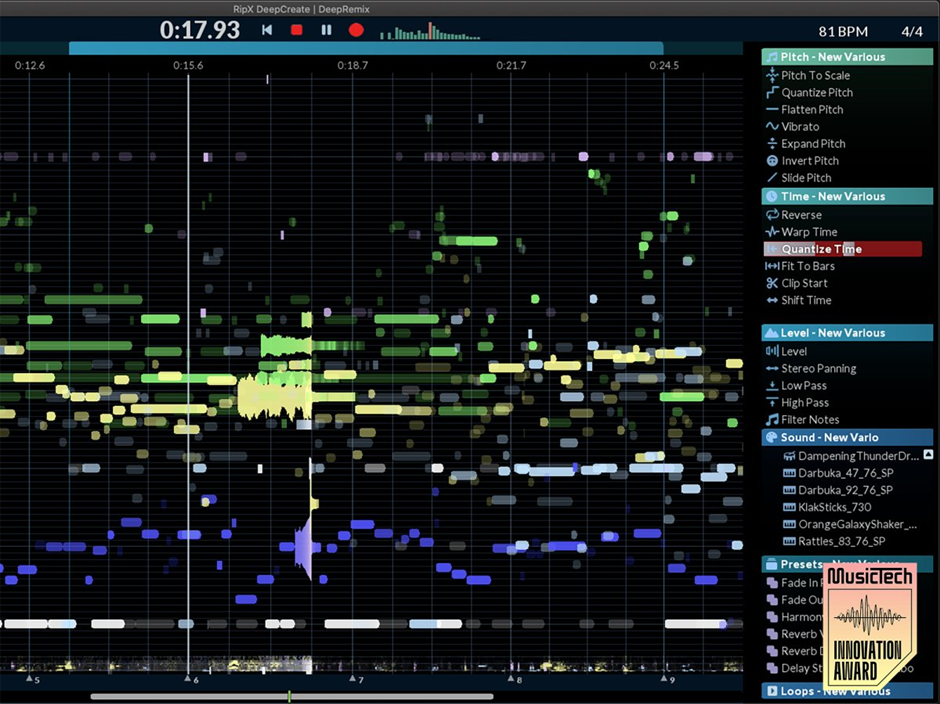
RipX DAW also makes it possible for any effects, Sound Panel sample or instrument to be adjusted over time. This is done using automation lanes that appear at the bottom of the screen (they can also be moved and resized vertically) when hovering over any assigned effects in the Effects Panels. Click on the assigned effects, sound, sample or instrument to keep the lane visible for editing. Then click in the lane to select it (as there may be multiple ones shown for different selections), and click again to set linear changes, or click and drag for flexible changes.
You can add multiple effects, sounds, samples or instruments to the same selection, and adjust the automation lanes to blend them between others over time. All can be adjusted over time in the same way.
For example, say you want to hear what your favorite VST pad preset sounds like, but mixed with a cimbalom and a violin, and processed by a Combo Effect consisting of a large amount of Reverb, 50% Reverse, some tasteful Low Pass Filtering automated over 4 bars with added Vibrato, all mapped to a single hardware controller slider. This may sound complicated but is actually easy to programme by simply dragging and dropping effects onto each other. Here’s an example of turning a basic synth sequence into something more experimental-sounding like Aphex Twin in seconds! You can really twist and contort layers using Combo Effects like this.
You can also click a note, press Cmd/Ctrl+C to copy it, then select an automation lane and press Cmd/Ctrl+V to paste. For example, if you wanted to reuse the vibrato on a note you had on a recording and apply it to other notes, you could paste it to a Shift Pitch Effect lane and create a preset by subsequently dragging the effects to the Presets Panel.
RipX is intelligent in the type of information it pastes. For example, it will paste the pitch changes of a note onto a Shift Pitch Effect lane, and the amplitude changes onto a Level Effect lane. You can even drag Layers onto automation lanes in a similar way.
You can apply effects and automation to notes, grouped notes (using Cmd/Ctrl+G on a selection), and time regions. This is very powerful for sound design use cases too, not just musical.
You can even individually set the automation for each effect within a Combo Effect, and toggle Stretch On/Off within the automation, although this is currently only available for partial time selections, or note selections
Additionally, updating the levels or automation for each individual effect in a Combo Effect automatically updates the audio everywhere in the rip where the combo is applied.
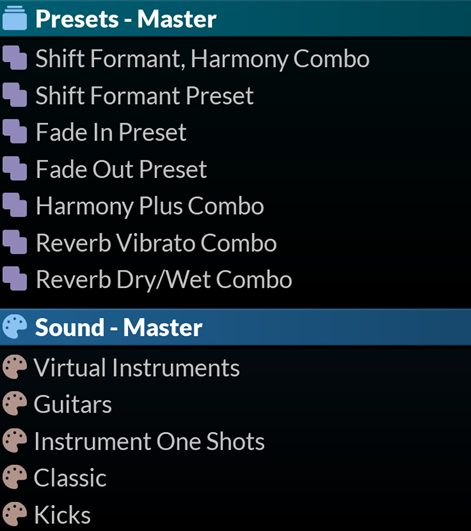
The Presets Panel already contains lots of useful Combo Effects to use right away.
Here are some further ideas for Combo Effects you might want to create and experiment with yourself. Why not try creating and using them in your rips?
Shift Formant, Harmony and Shift Formant Combo Effect
For example to deepen a vocal layer and add a lighter harmony: Simply drag the Harmony Effect onto a Shift Formant Effect, and then drag a Shift Formant Effect onto it. Experiment with different harmonies and slider settings to get the backing vocal notes and Formant Effect you want.
Basic Layer Mixing EQ and Compression Combo Effect
The busier your ripped Layers start to get sonically, the more subtractive and additive EQ and compression you will need to apply to each, ensuring a more well-balanced mix overall, especially if you plan to rip, create and mix all within RipX DAW like a typical DAW. Every Layer comes included with Low, Mid and High EQ sliders to adjust, but the other option is to create a Combo Effects Preset consisting of Low and High Pass Filters with some Compression. A useful ‘mix fix’ addition to your Preset Panel toolkit.
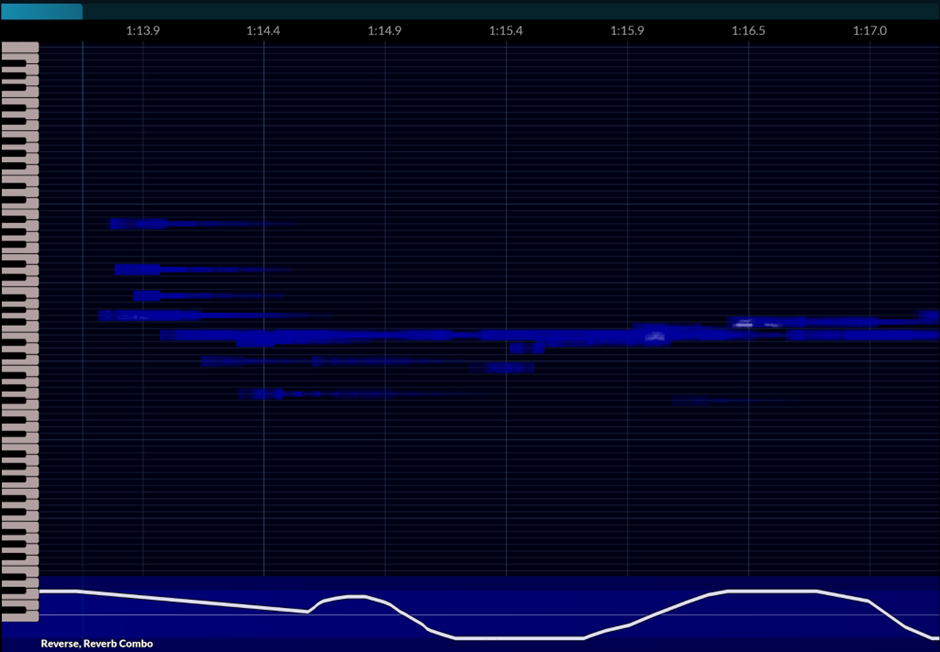
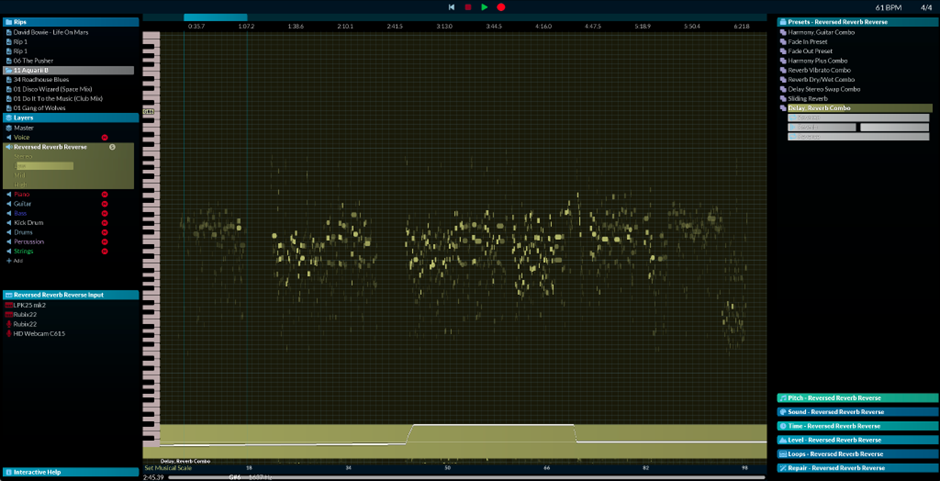
Reversed Reverb Reverse Delay Combo Effect
More experienced producers who do a lot of vocal production may be familiar with the popular technique of duplicating a lead vocal part and going through the often arduous, yet strangely satisfying process of reverse-reverbing it to create a ghostly or futuristic texture to sit behind a lead vocal.
Well, creating a Combo Effect containing these two stacked effects plus more, together with automation is a quicker and more creatively flexible option in RipX. No need to render the reverb and re-reversed afterwards as is normally required!
First, make a copy of your Voice Layer by right clicking on it and selecting Duplicate…then choose the color you want it to be by right clicking again and selecting Change Colour… It might be a good idea to choose a slightly lighter or darker shade of yellow so that you know it’s another Voice Layer but not the lead vocal. Then name the new Layer Voice Texture. Next, left click the new Layer to select it, then move the Reverse Effect slider to 100% to reverse the entire vocal part. Then drag a Reverb Effect onto it and set a large slider amount value to create a huge reverb. Then drag and drop another Reverse Effect after the Reverb Effect and again, move the slider to 100%.
Next, adjust the volume of it to taste on the Layers Panel and maybe EQ a little bit of the Low out of it, possibly add a Delay Effect afterwards to create an additional texture an add some floatiness, then press play to listen to your newly reversed-reverb-reversed-delay vocal and choose which vocal notes you want to use, deleting those you don’t.
Taking it a step further, you can also automate which sections you want to use this Combo Effect on such as the chorus only by simply drawing it in like shown in previous examples.
Lo-Fi or Broken Fragments Combo Effect
If you might want to make any of your layers more gritty or dirty sounding and less clean/polished, or slowly dissolve a layer into broken-sounding fragments as a song ends, try combining Low Pass, Filter Notes and Clip Start, then automate each to become more extreme as the song or particular section finishes. Adding an additional Delay Effect can also accentuate the automation of each effect and make each fragment sound more spacious and floaty as a song finishes. Subtle but effective with some types of rips and instrument Layers.
Creating this kind of Effects Combo is really only possible in the same way using RipX DAW’s Rip Audio format and would take a lot of time to edit this by hand if presented as a waveform in a DAW, or creating an equivalent plugin chain! Why not save yourself some time as well as create more original-sounding effects?
Another powerful and popular creative processing option, while not being a Combo Effects preset per se, is the application of side-chain compression.
Select all of the notes in a Layer you want to sidechain (e.g. with Cmd/Ctrl+A), then in the Level Effects Panel, set the appropriate level amount you want on the Gate, then set the required Ratio and Threshold amounts using the Compression sliders. To apply the sidechain, you need to drag the part you want to sidechain onto the newly created automation lane in the Layer. So for example, if you want to sidechain your Bass Layer to your Kick Layer, drag the Kick Layer onto the newly created Bass Layer containing the Gate and Compressor automation, then left-click with your mouse, hold down Shift and drag upwards and you will see the automation lines move upwards, indicating where the sidechain is present. Play it back to hear that classic ‘in and out’ pumping effect, adding much needed dynamics to static-sounding parts.
The same process can also be applied when creating a sidechain Gate Effect on a vocal or pad sound for instance which is another popular technique. Give it a go!
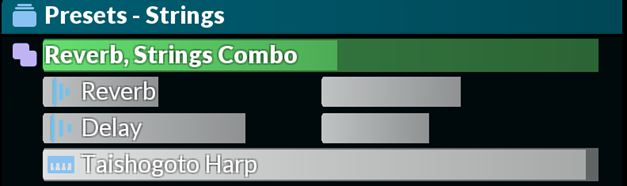
Sound Harmony and Decay/Reverb Combo Effect
If you might want to transform your vocal into say, a stratocaster guitar chord Sound over time, simply drag and arrange a guitar Sound onto and after a Harmony Effect, set the harmony to something like +3rd and the guitar Sound slider to 100% and the harmony will be played in that Sound, leaving the original vocal intact.
Arranging the Sound before the Harmony Effect will affect the original audio too.
Similarly, for Decay and Reverb Effects: adding and arranging a Sound such as a Harp after those (e.g. just by dragging the Sound onto the Reverb/Decay Effects, or clicking and dragging to reorder if necessary) will create an interesting effect where the original sound such as a synth morphs into the harp Sound over the course of the Decay/Reverb Effect.
Automating between different sounds or combinations of sounds gradually (or suddenly) and having them blend or completely transform over time something worth going deeper with. As in the previous example, you can even do all of the blending and transforming via one Layer without the need to create new Layers like you have to with MIDI and audio tracks in DAWs.
So building on the above, you could have a ripped Synth Bass Layer playing during section A, then changing into a Bass Guitar in Section B, before changing it into a Distorted Guitar in Section C. Or you could have a Piano turn into a Violin and then into a Robot Voice Sample over the course of a whole song on one Layer! Let your imagination run wild as RipX DAW is the audio playground where anything’s possible!
To program something like a combination of the above, select all of the notes in a ripped Synth Bass Layer, then click the Bass Guitar sound and move the slider to 100% in the Sound Panel. Then click a Distorted Guitar sound and move the slider to 100% in the Sound Panel. Then draw in the automation for each sound below different notes and play it back to hear it changing as it moves through the Bass Layer. A very powerful, intriguing and innovative way to change Layers into different tones, sounds and instruments in unconventional ways.
As with all plugin effects chains in DAWs, the order of your RipX DAW Effects Combos does matter. An effect will affect any note group of notes in a Layer differently depending on its position in the Combo Effects. Knowing how the order of a certain effect and the amount applied will influence the overall sound can help you make more informed mix decisions and troubleshoot problems.
What’s the correct order of effects in a Combo Effects chain? This topic can be confusing, especially for less experienced users, because there is no fixed or consistent rule. The order you drag and drop/arrange your Combo Effects depends on the type of notes in the Layer you want to process, what you’re trying to achieve, plus what sounds best to your ears.
This is really only scratching the surface in terms of the types of Combo Effects you can create in RipX DAW, but do you want to see more Combo Effects types included in the software by default?
Please don’t hesitate to send a message via https://hitnmix.com/contact/ with any suggestions you might have!
Better yet, when you buy or upgrade to RipX DAW PRO, you get all core RipX functionality plus the revolutionary music recording and creation of RipX DAW for free, allowing you to get surgical in your sound design!
Disclaimer: Screenshots are for illustrative purposes only and are not intended to be indicative of recommended or authorized use.