

(Credit: Indiewire)
In this two-part blog post series, we’ll cover some of the most popular usages of our award-winning RipX DAW & DAW PRO for sound designers and content creators, providing a variety of step-by-step video guides covering how to quickly and easily rip and edit audio to video (macOS only), ambience match, blend and transform all types of dialogue and sounds, utilize Audioshop® tools plus more.
Need to edit audio to video (macOS only) or create unique sounds and dialogue for your content? No problem – get a free RipX DAW PRO trial.
Download Free RipX DAW PRO TrialOutside of being able to use RipX DAW to rip any song/MP3 into high-quality stems for editing and adding effects, recording new ideas, sampling, blending and transforming sounds and Layers plus more, you are also able to rip .movs and MP4s (macOS only), extract the audio into stems and edit in the same way, all in sync with video. Only RipX DAW currently offers this! But by upgrading to or purchasing RipX DAW PRO, you get access to even more features for sound design, opening up further creative possibilities.
In the first part, we take a look at some typical sound design use cases for video (macOS only). All footage chosen was filmed by Ivan Bridgewater and sourced from Archive.org.
Why not try similar techniques on your own content?
Step 1 – Rip, watch & listen to video footage in sync with audio
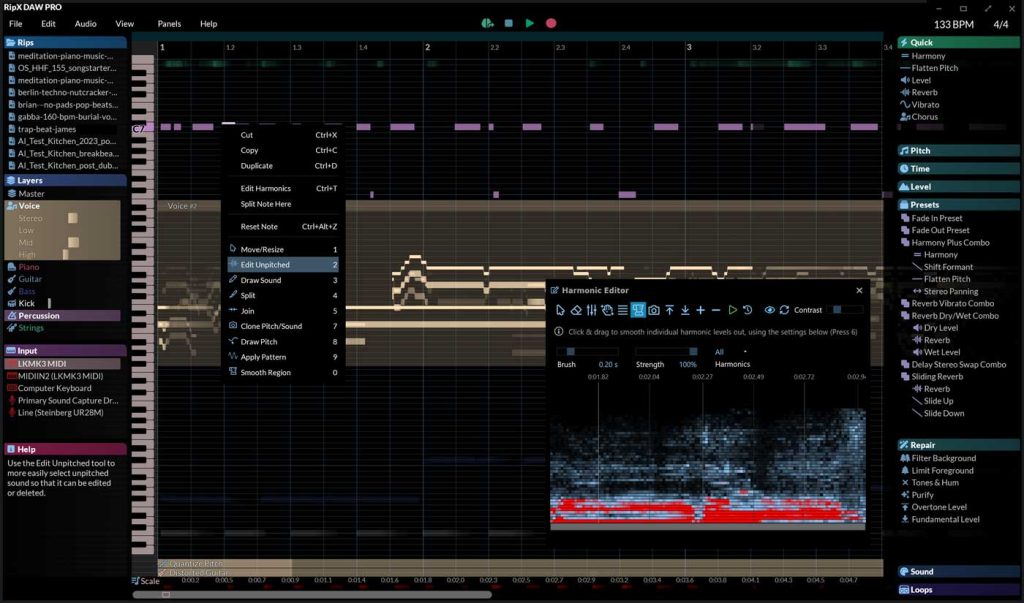
Let’s rip a some film footage as MP4s or .movs (macOS only), easily separate the audio from video into stems, then listen back and watch the audio presented as notes on the RipX DAW PRO timeline, in sync with the video.
Step 2 – Swap background sounds & ambiences between video rips
You can then Group sections of audio/notes together, copy and paste these Groups from certain footage into other footage, switching between video rips in the RipList and using the Unpitched Editor to edited out any unpitched audio if necessary.
Step 3 – Save different sounds (pitched only) in the Sound Panel, then blend them
You can even save pitched sounds into the Sounds folder and use the slider for each to blend and replace them with other pitched sounds.
Step 4 – Use a selection of Audioshop® tools & Effects to create unique sounds
Next, delete all unwanted notes then join all remaining notes together as one Sound by selecting them with the cursor, right clicking and choosing Join Selection. Then experiment with using a combination of Audioshop® tools and Effects to mould the sound into something completely new. In this case, we will attempt to quickly and easily turn a firework sound into a unique-sounding, ghostly alien spaceship landing.
Step 5 – Export as a new .mov, MP4 or other file format
Once you are finished editing your audio to video or creating new sounds from the extracted audio, you can either export as .movs or mp4s, or in a whole host of other audio formats.
Disclaimer: Screenshots are for illustrative purposes only and are not intended to be indicative of recommended or authorized use.