

In this blogpost, we’ll cover some of the most popular usages of our award-winning RipX DAW for musicians, and provide a step-by-step guide on how to quickly and easily learn, practice and record parts to any song, plus more.
Don’t have access to the sheet music, MIDI files, multi-tracks or stems to learn instrumental or vocal parts in a song, but need to figure them out without any tedious guess work? No problem – get a free RipX DAW trial.
Try Free for 21 DaysMany musicians want to learn parts from songs to either improve their playing or singing skills, learn new techniques, perform cover versions, or find ideas or inspiration to create their own songs from. Yet a lot of the time, there’s no sheet music (on or offline), MIDI parts, multitracks or audio stems available.
As a result, the learning process can often be very confusing and overly time-consuming, involving a lot of guesswork and invariably, mistakes. It also requires high levels of focus and patience, depending on the type and complexity of the music being learnt.
Despite the growth in audio source separation software in recent years, making it possible to split recordings apart to create stems, mute parts and create backing tracks, it hasn’t yet been possible to then view and learn actual notes, chords, fingerings, capos and other characteristics of parts – until RipX DAW was released.
Better yet – RipX DAW is only $99 and one of the best-value professional pieces of stem extraction software available anywhere! Or buy RipX DAW PRO and extra features included.
How can I learn, practice and record to any song using RipX DAW?
RipX DAW is the only software that lets you rip apart any song file, isolate each part and either learn parts from within the software, or export them as MIDI files for use in DAWs or notation programmes, ridding the need for inefficient notation guesswork, and other methods. You can even record your own takes and parts and even transform them into or blend them with other sounds, plus much more!

Now, any musician can learn parts to songs in a much faster, more fun and efficient way! Purchase a song online or record it off vinyl or CD into your computer as an MP3 or WAV file. Once digitized, it is possible to rip, solo and playback individual parts, plus view and learn their notes, chords and performance characteristics, before playing or singing over a newly created backing track from the original song file!
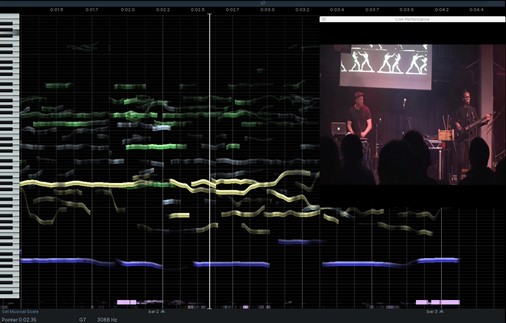
You can even import video files (Mac only) consisting of audio synced with video and study filmed performances of yourself or others. A more interactive and fun way to improve your playing and band or group dynamics to entertain crowds better!
After the required parts are learnt and a performance filmed on video, that video can then be ripped post-performance, and many mistakes corrected. Correct bum, out-of-tune or out-of-time notes, increase or decrease volume levels, re-EQ or re-pan any part, even insert key changes to create special edits or live versions (different to the original recordings), all in sync with video (Mac only)! Make a live performance mix sound more live (or bigger) by adding effects such as reverb or subtle delay to create more of a large venue or stadium feel – especially for performances recorded in ‘closed’ or dry-sounding venues or rehearsal studio environments.
You can even mute or delete backing track parts to create solo vocal performance videos, improve or fine-tune the character of vocals and instrument performances by adding vibrato and/or formant shifting, flatten pitch and quantize pitch, automate them over time and use RipX DAW‘s audio input or MIDI/MPE to record parts again, change them into new sounds, create Combo Effects, plus much more.
Let’s take a look at a typical musician workflow using RipX DAW.
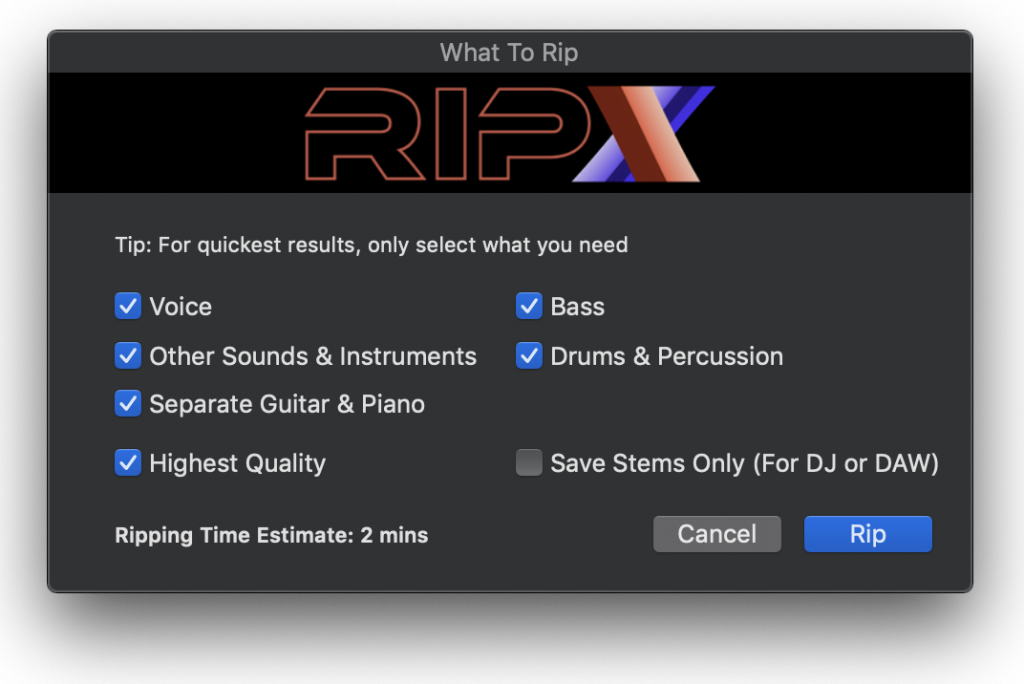
Step 1 – Rip a recording into stems
After launching RipX DAW, simply drag and drop your audio or video files (Mac only) into the clean and easy-to-navigate interface. It really is that easy to get ripping!

Rip and separate your files into vocal, instrument and percussion parts. It is recommended that you tick the ‘Highest Quality’ box, but this may mean your recording will take longer to rip.

After ripping, your songs will show as Rips in the RipList Panel to the right. Double-clicking each Rip in the RipList will display its notes in colors that correspond to the parts to which they belong.

Step 2 – Choose a background image
To set the right mood when playing, singing, picking, strumming or drumming, you can drop your own image (PNG or JPEG) onto the background.
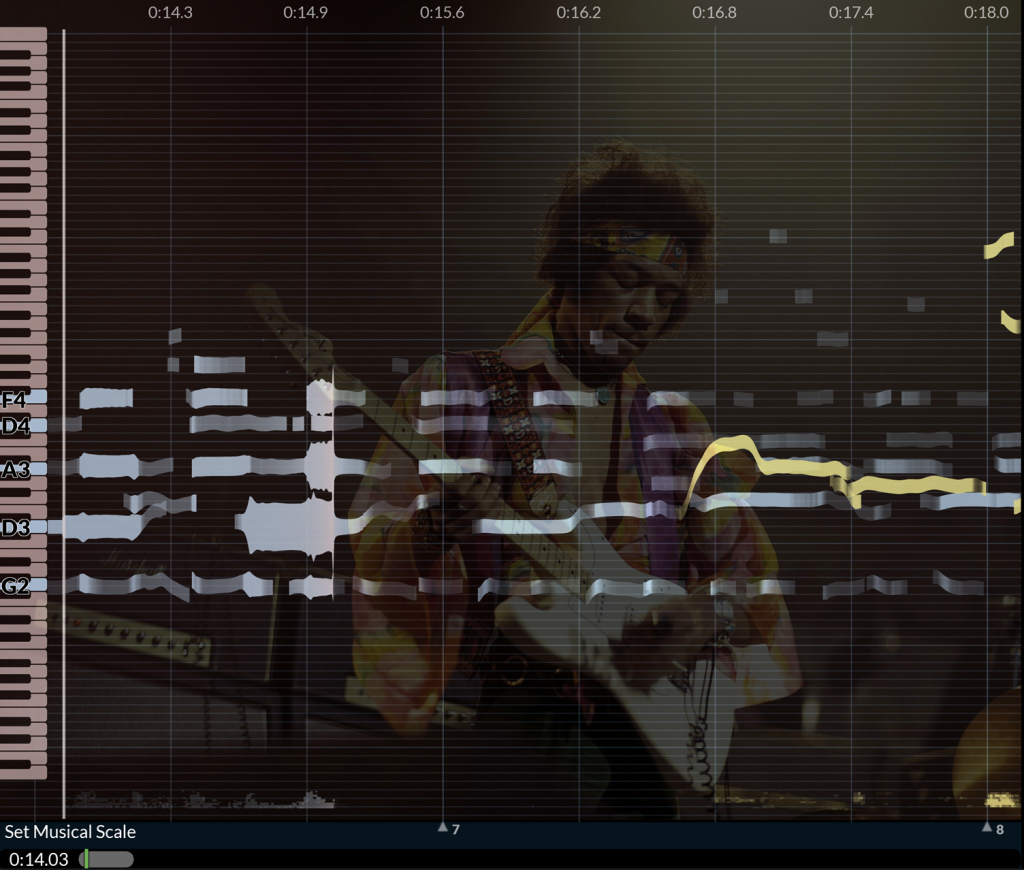
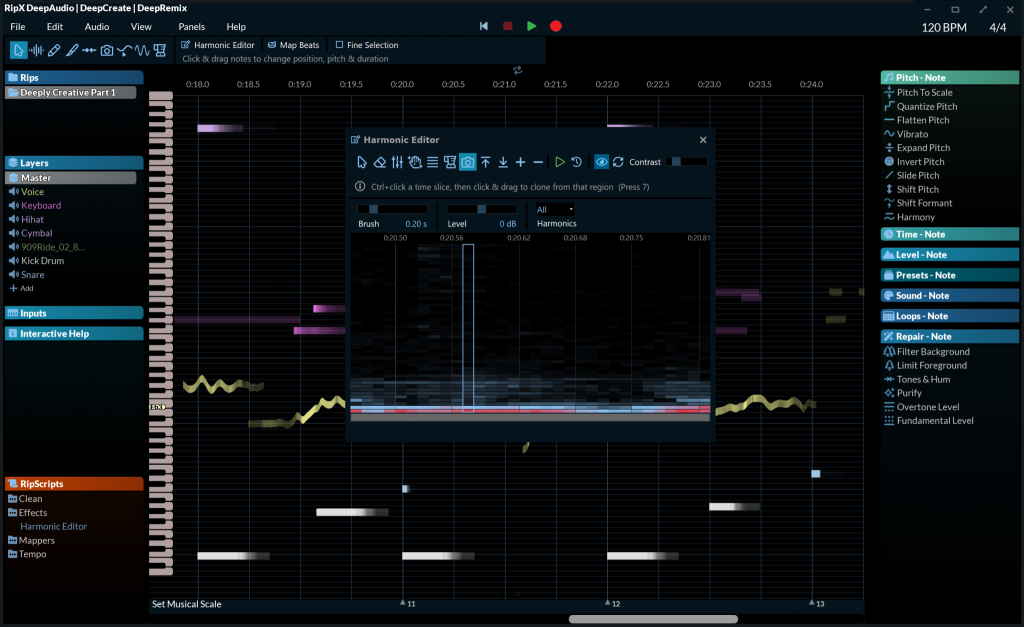
Step 3 – Play back, view and learn individual notes, chords and entire parts
Hit the spacebar or play button and as the cursor moves through the notes, you will see notes for each part being highlighted on a beautifully animated piano roll at the left of the screen.
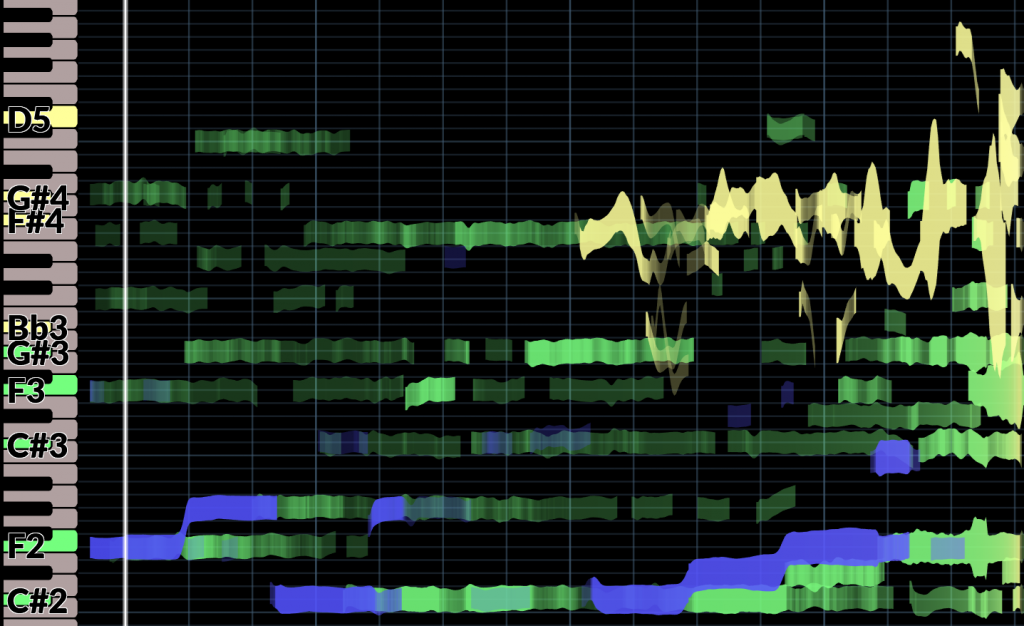
Click the individual notes to hear them played back, even those making up chords and view the note pitch on the keyboard and printed at the bottom left. Guitarists can also click on guitar tracks to see chords, click on each chord name to see chord fingerings, and right click to cycle through different capos.
This enables you to study compositions and performances of yourself or others. Analyze notes for transcription and view the precise volume, timing, variation in pitch, chords, fingerings and capos of each note or chord over time, making subtle adjustments to hear the difference.
A much more efficient and precise way of learning parts vs guessing by ear and other methods!
If you want a score that sounds as similar to an existing recording as possible, RipX DeepRemix can even expose the subtle nuances.

Step 4 – Create backing tracks to play along and record to
Click ‘M’ on the Layers Panel to mute vocal or instrument parts, or fade them out with the slider, keeping them just audible, as a reference to help you perform in tune.

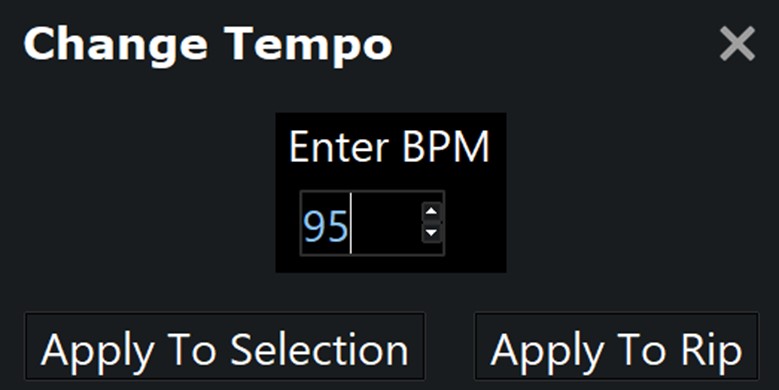
You can also change the tempo to make practice easier, and hear fast notes and chord changes more clearly.
After learning and practicing, if you might want to record your own parts over backing tracks, simply create a new Layer, make sure your input is selected correctly in the Inputs Panel, and then press record. After recording, you can even then transform or blend your takes into other instruments or sounds – such as changing your voice into a bass, or blending guitar tones together.
Step 5 – Create new versions of songs
Have fun adding new effects to parts or overall mixes under Adjust/Effects by clicking and dragging the sliders
Click Set Musical Scale, then Detect to analyze the existing key of a song and experiment with different scales. The Auto Pitch To Scale and Randomize options further enable creative experimentation.
Step 6 – Export backing tracks or MIDI parts for rehearsing
Once you’ve figured out or notated your parts, if you might want to export a backing track as an MP3 or WAV, or individual Layers as MIDI files or other formats to import into a music player, DAW or notation software, make sure you mute your required parts, then simply choose your preferred file format from the menu before exporting. Choose MIDI Notes for notation software.
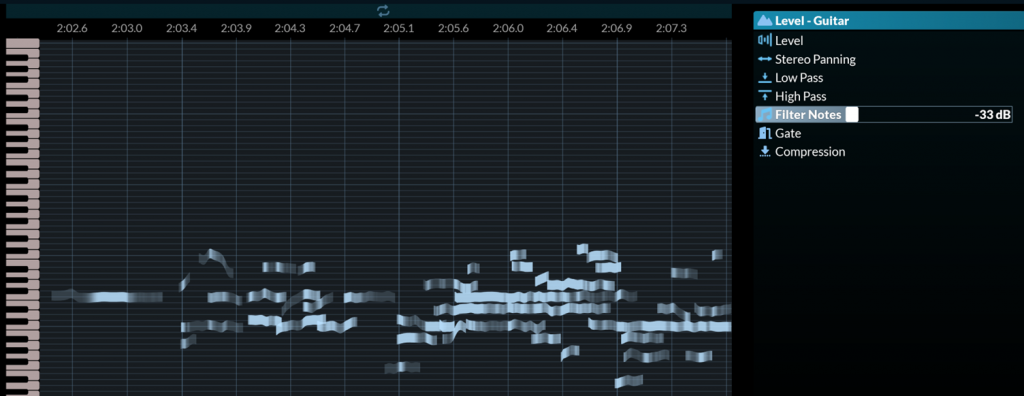
Top Tip: To help clean-up any Layers and get rid of any unwanted notes/frequencies before MIDI-exporting, either delete them the usual way, or use the Filter Notes effect under the Level Effects Panel to filter out the weaker notes that are not such an important part of the melody. This may then result in a cleaner MIDI file once exported.
Go pro and add-on or purchase RipX DAW
Upgrade RipX DAW PRO to fix and clean up recordings in more depth with our award-winning Audioshop® tools, learn and adjust timbre, pitch & timing, learn and edit unpitched audio (including noise) separately from pitched sounds and work standalone or with your DAW. You can even do things like replace or swap entire instrument parts with new instruments but keep the notes and performance the same (i.e swap a guitar solo with a sax solo), swap parts with any samples such as replacing a keyboard line with sound effects like whooshes for electronic music performances – the possibilities really are endless! Create the highest-quality extracted audio, plus tweak and edit stems at unprecedented levels of detail using RipX DAW PRO.
how many seats come with each purchase of RipX pro , we would like to be able to load on our desktop in the studio and laptop to interchange parts etc. We appreciate your assistance with this question. DaveO
Each RipX DAW license can be activated on up to two of your own computers.