

In this blogpost, we’ll continue covering how to use RipX DAW for learning, practicing and recording cover versions of songs, with a focus on useful file management tips and tricks; proving that RipX isn’t just for stem separation but also a flexible, Future Audio Platform that can be used to learn, practice, record, edit and export many versions of songs in all sorts of file formats – making it the ultimate tool for modern cover band musicians – no matter what instrument you play!
Need to learn, practice, record, edit and export parts and versions of any song? No problem – get a free, 21-Day RipX trial or buy RipX DAW.
As our previous RipX DAW for musicians blogpost revealed, RipX DAW allows you to split recordings you need to learn into stems, mute parts to create backing tracks and new versions of those recordings, then view and learn the actual notes, guitar chords/fingerings, and other characteristics of certain parts. Taking this a step further, you can then record your own takes, variations or improvisations to replace original parts and try out ideas before presenting them to your band or performing them live; or just make cool remixes for fun! You can even add effects and blend or replace any part with other instruments and sounds, and make any cover song your own without the need for additional recording software such as a DAW.

But what else can you do with RipX when it comes to learning and performing cover songs?
Let’s take a common scenario. You might play the flute or saxophone in a wedding band and have a request to learn and perform a well-known song featuring the flute. But you aren’t sure whether to perform your part on the flute or saxophone, and which might sound better on the night.
Your bandmates also need various versions to learn, practice and improvise over before you all meet-up to rehearse it alongside the other songs in your wedding set.
After buying and downloading the song as an mp3 file, then ripping it in RipX DAW, learning the original flute part by slowing it down to easily see its notes on the piano roll, you next need to create various versions from the original recording to send to each band member.
It’s also possible to change the key by selecting all notes and shifting them up/down since different instruments have different ranges and certain keys are more comfortable on certain instruments.
You also want to mute the original flute part, record in your own flute part which differs from the original, try changing it to a saxophone and see how both sound before discussing with your band members to get their feedback, or jamming the ideas through with them on your chosen instrument.
Not a problem. Using RipX DAW you can quickly and easily achieve this.
Step 1 – Download and rip the song into stems
After downloading the song to learn, launch RipX then drag and drop it onto the interface.

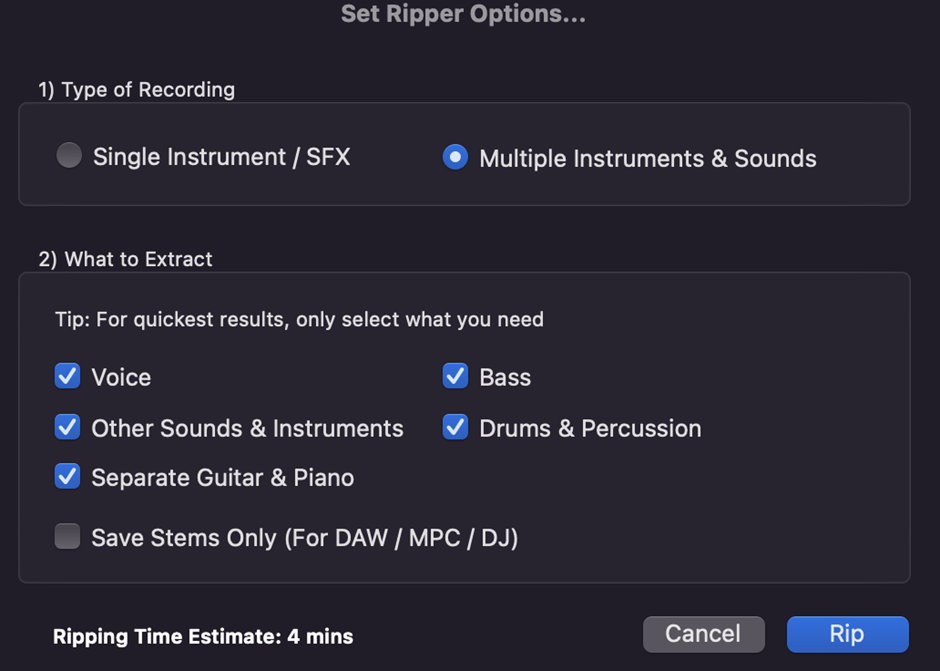
Rip and separate your file into vocal, instrument and percussion parts. It is recommended that you tick the ‘Highest Quality’ box, but this may mean your recordings will take longer to rip.

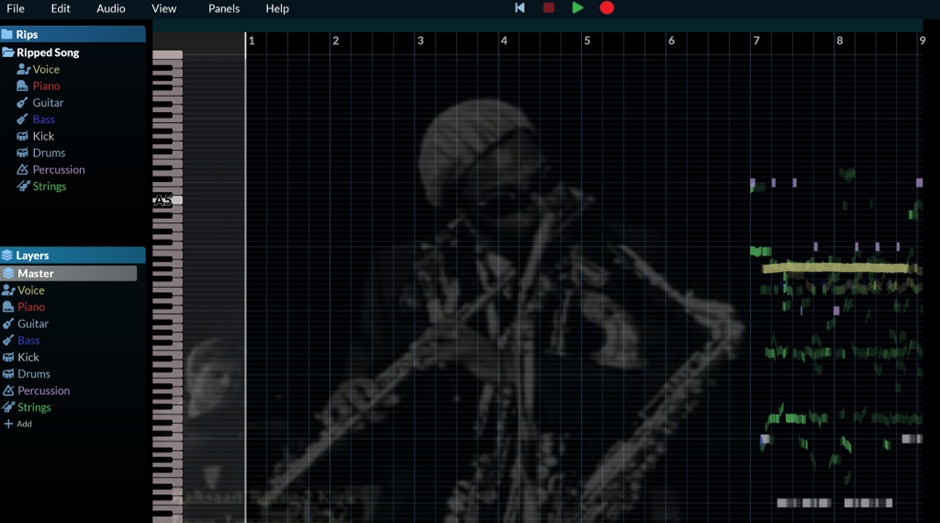
After ripping, the song will show as a Rip in the Rips Panel to the left by default. Double-clicking the Rip in the Rips Panel will display its notes in colors that correspond to the parts to which it belongs.
To set the right mood when learning, editing and exporting, you can drop your own image (PNG or JPEG) onto the background.
Step 3 – Clean-up the song’s Layers
When listening back, if any notes from a certain part are missing or were auto-recognised incorrectly onto another Layer, simply locate the Layer containing the missing notes, highlight the notes with your mouse and click the arrow next to the Layer you want to re-assign them to.
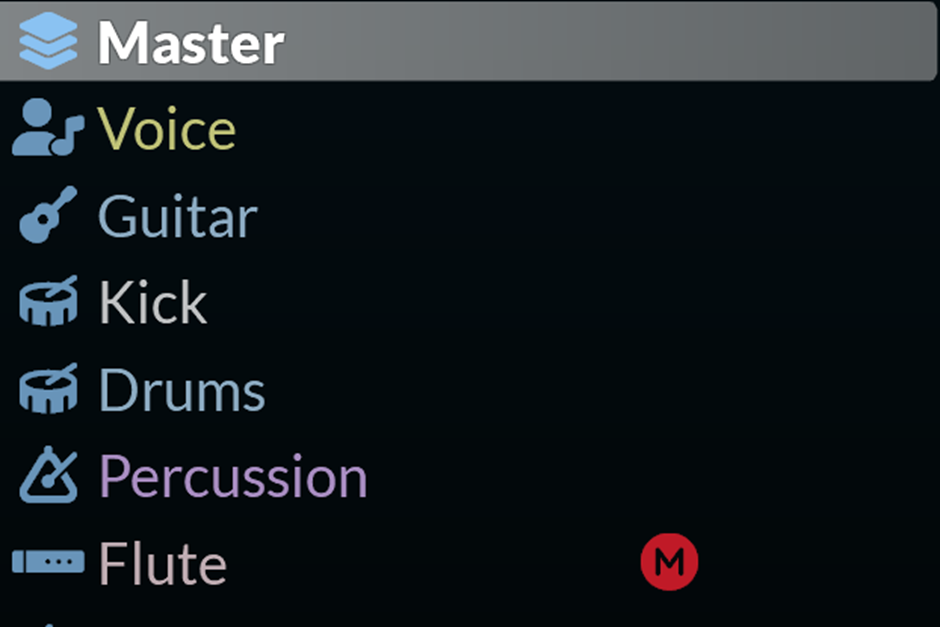
Depending on the type of song you are ripping – in some cases, certain instruments such as voice, piano, guitar and bass may be auto-recognised by RipX’s powerful algorithms as different instruments. In this case, the song’s flute part is recognized as strings, so you just right-click the Strings name on the Layers Panel, and select Rename Strings. Type Flute and hit return to update it, then click the S button to solo the part and see the flute notes in isolation. Press play to listen to it.
Step 4 – Create and export different practice versions for your band
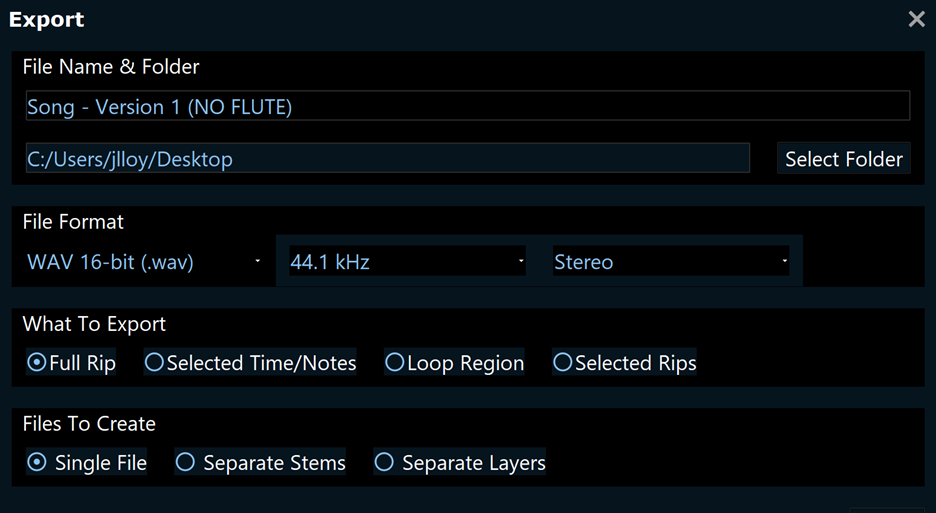
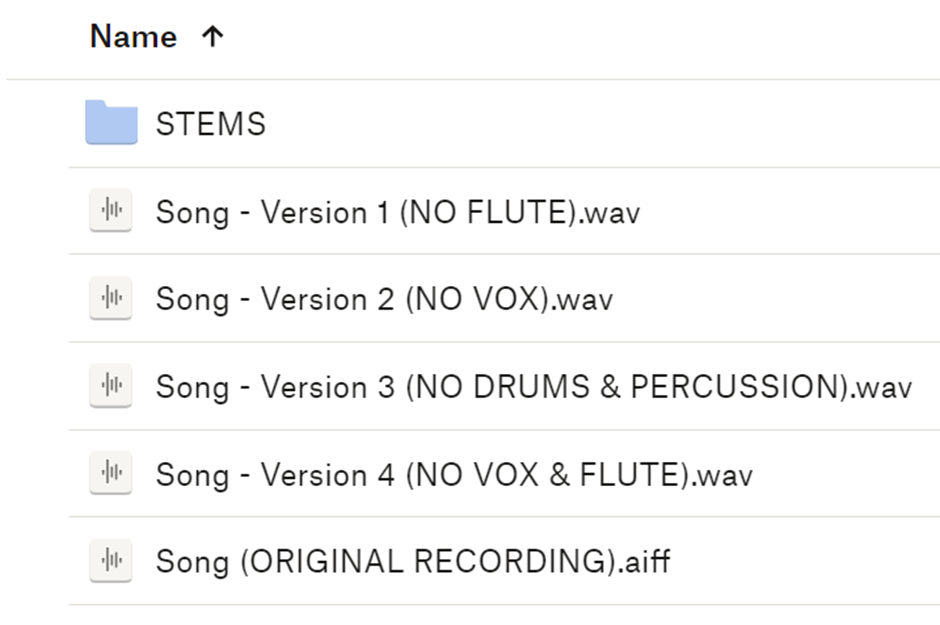
You can now start muting certain Layers and exporting different backing/practice tracks as MP3s or WAVs/AIFFs for each member of the band to play and practice over before rehearsing with everyone together. For example, as a flute player, you need to be able to practice the original flute part and come up with your own version over the other parts of the song. So you simply mute the ‘Flute’ Layer, click File>Export and export the song as a WAV or MP3 file, calling it ‘Song – Version 1 (NO FLUTE)’.
Continue muting groups of tracks and exporting to create as many versions required for your band…
Step 5 – Share each version of the song with the band
As you can imagine, using RipX, you can create lots of different backing tracks and practice versions for any song and from any recording, depending on who’s in your band, who needs to practice what and their requirements, and then upload them to an online/cloud storage service such as Dropbox, accessible by all members (if given access) to then download and either rip in RipX themselves, or playback on another device to practice along to.
You may even want to upload the original recording to Dropbox too, and rip and save all stems via ‘SAVE STEMS ONLY (For DAW / MPC / DJ)’ for band members wanting access to any particular stem. Here’s what a typical Dropbox cover band file hierarchy might look like for this song:
Step 6 – Practice & record new parts
As this blogpost explains, you can record your practice takes or new ideas into a Layer.
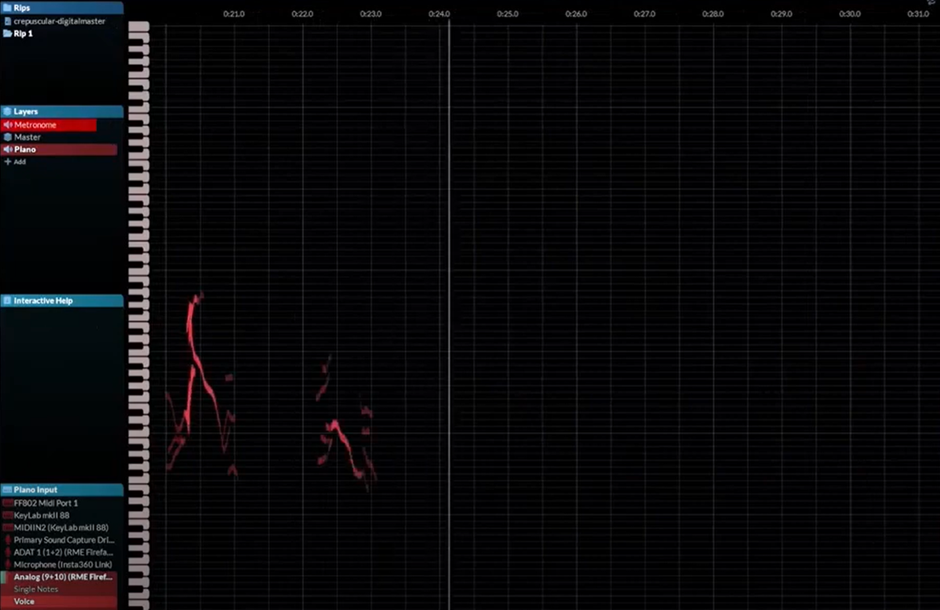
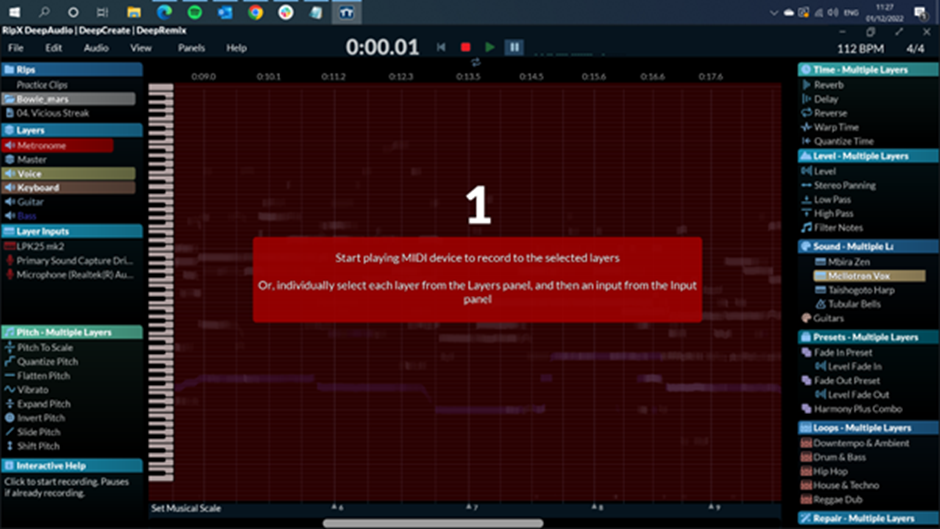
Simply select the layer in the Layers Panel, select your recording device in the Input Panel, hit the record button and a countdown timer will start to prepare you for recording. As you record a part, the notes will appear on-screen in real-time.
You can one-click record into new or existing Layers by pressing the red record button to the right of the Layer name. Then wait for the count-in and perform your part. You can even record into multiple layers at the same time (e.g. flute, keyboard and vocals together) by choosing the input device for each layer, selecting all of the layers and then hitting record.
Step 7 – Audition and change or blend the flute into a saxophone
But remember – we also want to see if the flute part might sound better played on the saxophone for the purposes of performing the song at an upcoming wedding. Maybe playing this flute part on the saxophone might be more powerful, or conversely, too overwhelming? But you don’t have your saxophone at hand to try it out. Well – as explained in this blogpost, you can audition, blend or change any instrument or sound with any other, so why not experiment with changing the flute into a saxophone in the Sound Panel in the same way as in this video which shows blending and replacing guitar tones. Will it sound better on flute or saxophone live at a wedding? You decide.
Alternatively, if you didn’t have a singer, you could try transforming the vocal part into a flute or saxophone. RipX DAW’s transformation and blending possibilities really are endless! Give it a go yourself.
Can we put countdown before the track?
If you’re recording into RipX DAW, there is a four beat countdown before recording begins. (The metronome needs to be enabled from the playback controls for this.) Otherwise, you can edit the Rip to add clicks or percussive sounds to the start of it. If you need any help with this, please send us a message via https://hitnmix.com/contact/