

In this blogpost, we’ll cover some of the most popular usages of our award-winning RipX DAW for DJs and remixers, and offer some tips on how to quickly and easily split full-mix stereo MP3s, WAVs and other audio file formats into stems, edit them in a number of ways, choose track layers to create remixes and mash-ups from them, stem-mix into your DJ sets, export for use in a DAW, drag onto a USB stick ready for mixing, plus more.
Don’t have high-quality stems from a stereo audio file to mix into a DJ set but need them? No problem – don’t delay the mix and grab them now with a free, 21-Day trial of RipX DAW.
Download Free RipX DAW PRO TrialHow should I use RipX DAW to create and edit stems?
Working with stems and stem mixing can be incredibly creative and a lot of fun with endless possibilities to be original as a DJ or remixer!
RipX DAW can be used to create any type of remix within the software, and if access to the original multitracks isn’t possible, high-quality stems can be ripped from stereo audio files. Musicians can even use RipX DeepDAW to learn and practice parts to any song!
According to some RipX reviewers, using many of the current source separation software on the market generally results in significant artefacts and limits you to basic separation functionality only, often with a restriction on the type or amount of tracks that can be separated, very limited editing functionality, with no further editing of notes or other audio characteristics possible. Furthermore, it’s all done in the waveform and spectral domain.
Not with RipX DAW.
The software’s advanced AI technology not only lets you separate any song into a non-restricted number of layers whilst offering the highest-quality separation with minimal or no artefacts, it also offers a whole lot more, ridding the need to export and import your stems into a DAW for further editing.
Audio is stored in RipX’s revolutionary Rip format, a giant step up from waveforms, enabling full control over all aspects of sound, which is why breaking your mixed audio files into stems in this way, offers more creative DJ stem mixing and general remixing possibilities, adding infinite flexibility, the ability to create seamless transitions, take more control and fine-tune different elements of any song. Better yet – RipX DAW is only $99 and one of the best-value professional pieces of stem extraction software available anywhere!

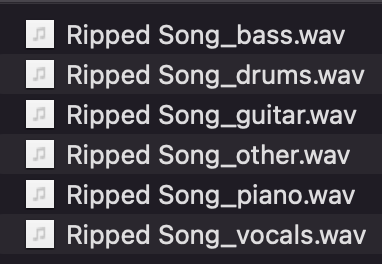
Most DJs will typically want to separate vocals (to create acapellas), bass, drums, melodic parts or entire instrumental or dub versions with no vocals to mix into their sets, but with RipX DAW, you can achieve this, plus edit and export every layer of a stereo mix, with no limit!
In general, DJing and creating remixes with stems using RipX DAW isn’t a complicated process. As long as you have the right hardware and software, everything should integrate smoothly, allowing you to work fast without inhibiting your creativity.
The only slight downside to creating, editing and mixing stems in general, is that they can take a little more pre-preparation and live manipulation vs stereo audio files, and often require more skill and creativity to pull off seamlessly in the mix, so you are going to have to think through and practice more than typical MP3s. In fact, you’ll need to think more like a producer or remixer! Let’s take a look at a typical DJ and remixer workflow using RipX DAW.
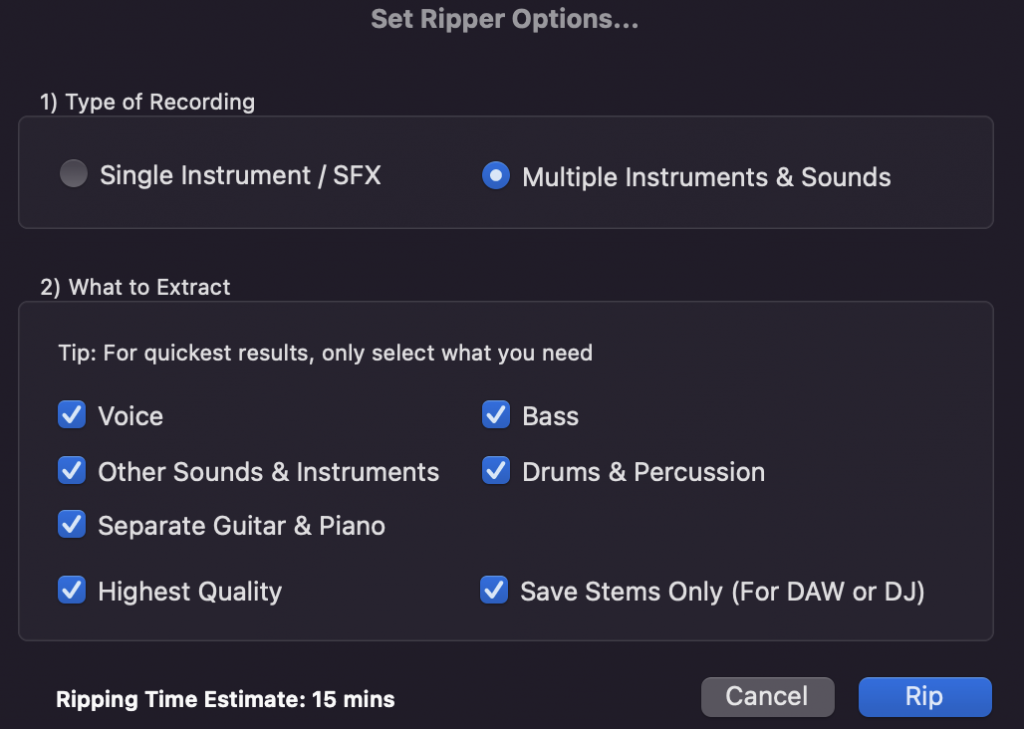
Step 1 – Rip a recording into stems
After launching RipX DAW, simply drag and drop your audio or video files (Mac only) into the clean and easy-to-navigate interface. It really is that easy to get ripping! You can also connect a vinyl turntable into your soundcard and record the input from that into a track. The choice is yours depending upon your collection!

Before the software separates your files into parts, you can choose whether to work with those parts as ‘Layers’ inside RipX DAW, or tick the ‘Save Stems Only (For DAW or DJ)’ box to export them straight away for use in your DJ sets, or to edit in a DAW. It is recommended that you tick the ‘Highest Quality’ box, but this may mean your recording will take longer to rip.


For those wanting to create and export stems straight to their DAWs, the Ableton Live export/import process is relatively straight-forward.
In addition to Ableton Live, you can also set RipX DAW as the external sample editor in Logic Pro X, FL Studio, ACID Pro, Digital Performer & Mixcraft, although those wanting to use RipX’s RipLink plug-ins from Pro Tools and DAWs that support VST3 & ARA2 such as Studio One, Cubase, Reaper & Cakewalk, will need to purchase or upgrade to RipX PRO which also comes with RipX DAW’s ability to record and transforming sounds in a multitude of other ways, meaning that you don’t necessarily need a DAW to create full songs.

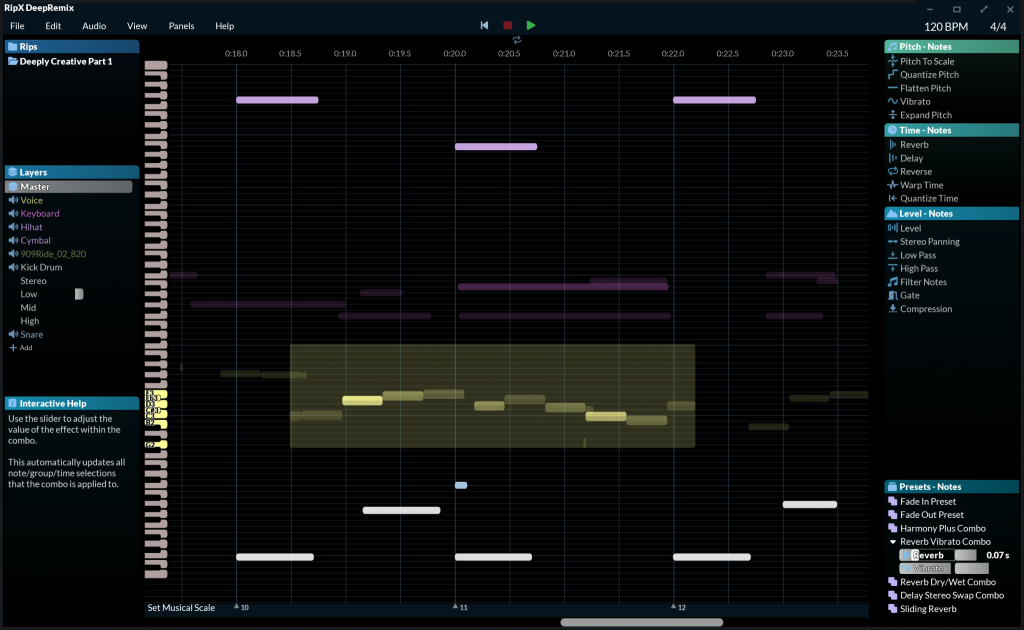
Should you decide to edit your stems further within RipX DAW, after ripping, your songs will show as Rips in the RipList Panel to the right. Double-clicking each Rip in the RipList will present each Layer’s notes, ready for editing.
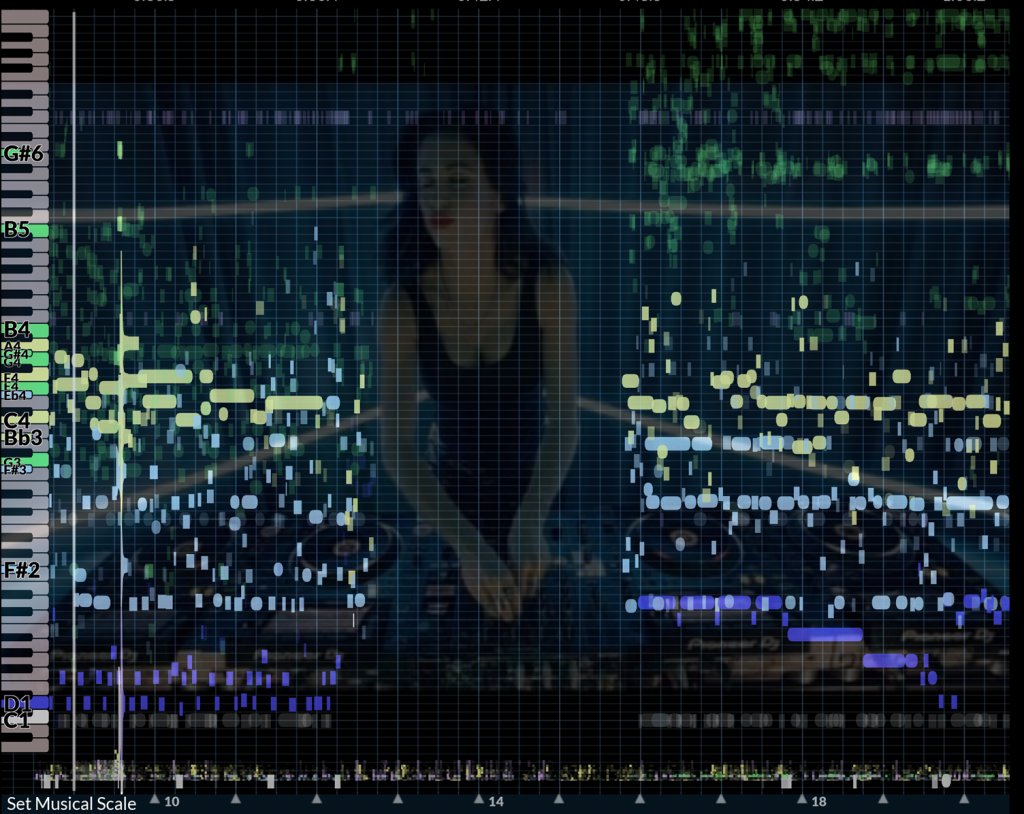
Step 2 – Choose a background image
After ripping, drag your own background image (PNG or JPEG) onto the rip to set the mood before editing your stems or creating your remix.
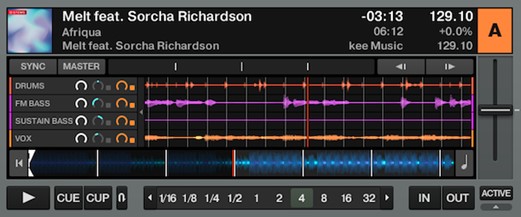
Step 3 – Re-balance or mix and match parts between different layers and song rips
Next, you can edit notes, re-EQ parts plus change their panning and volume on the Layers Panel.
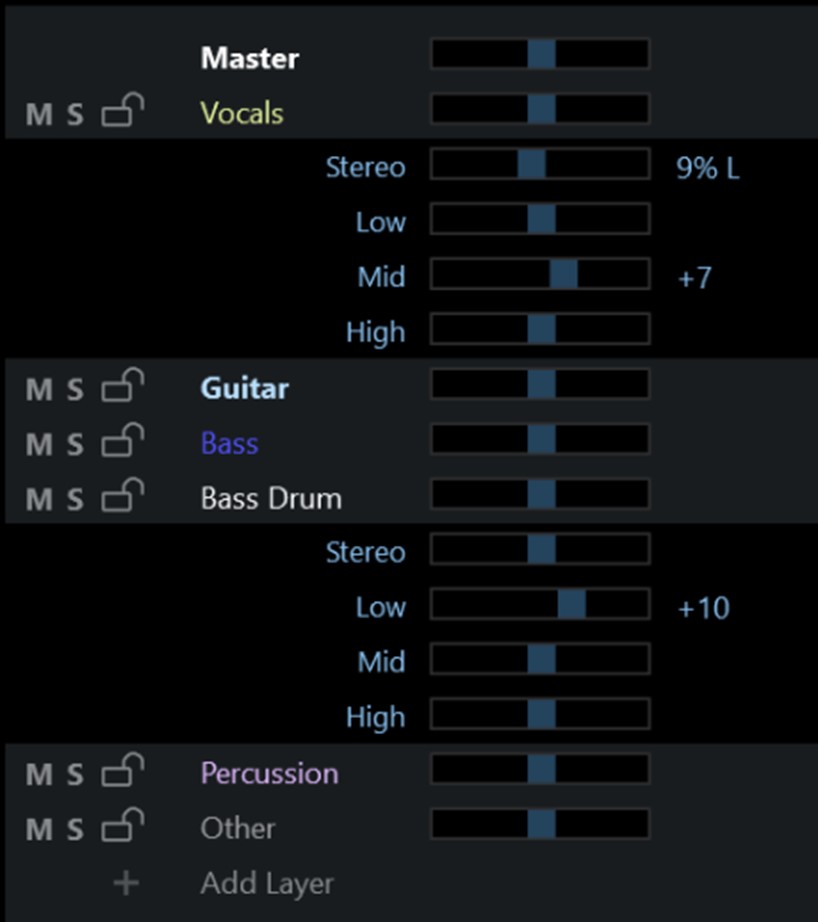
RipX DAW lets you easily pick and choose exactly what you want by deleting, copying and pasting between Rips. Don’t like the vocals of a song? Just delete that layer. Only like the bass and drums? Delete the vocals and melody. Like using the vocals of one song and the rhythms of another? Simply mix and match between Rips. By restructuring before exporting as stems, you can bring new and different elements and arrangements in and out of the mix and create your own live DJ mash-ups. A recent review of the four best stem separation tools by Attack Magazine said that RipX had the ‘best quality vocals’, was ‘highly musical’ and ‘perfect for DJs.’
To copy all notes from a particular layer, first select them by simply clicking on the name of that layer on the Layers Panel.

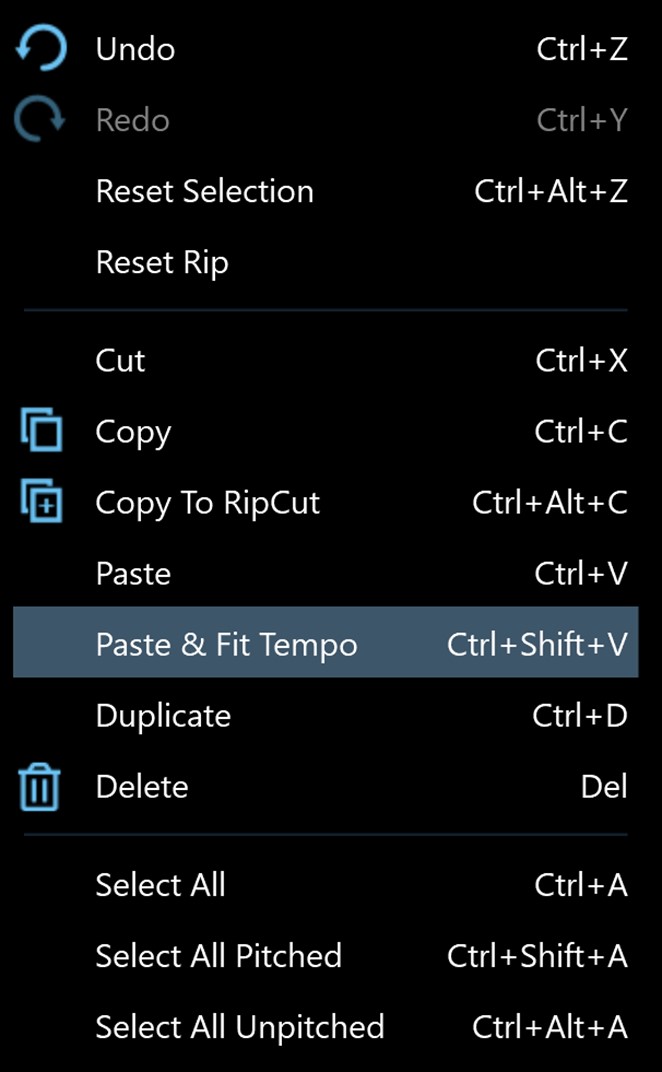
Next, go to Edit>Copy before pasting them into another Rip Layer via Edit>Paste & Fit Tempo to have them match the timing of the new Rip.
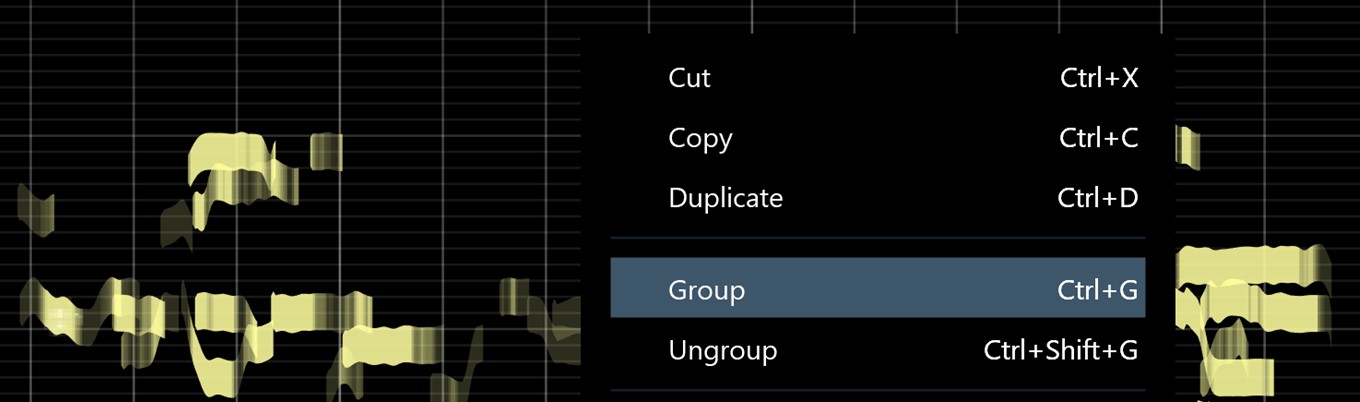
To fix or fine-tune the timing further, select groups of notes, right-click and then select Group from the menu.
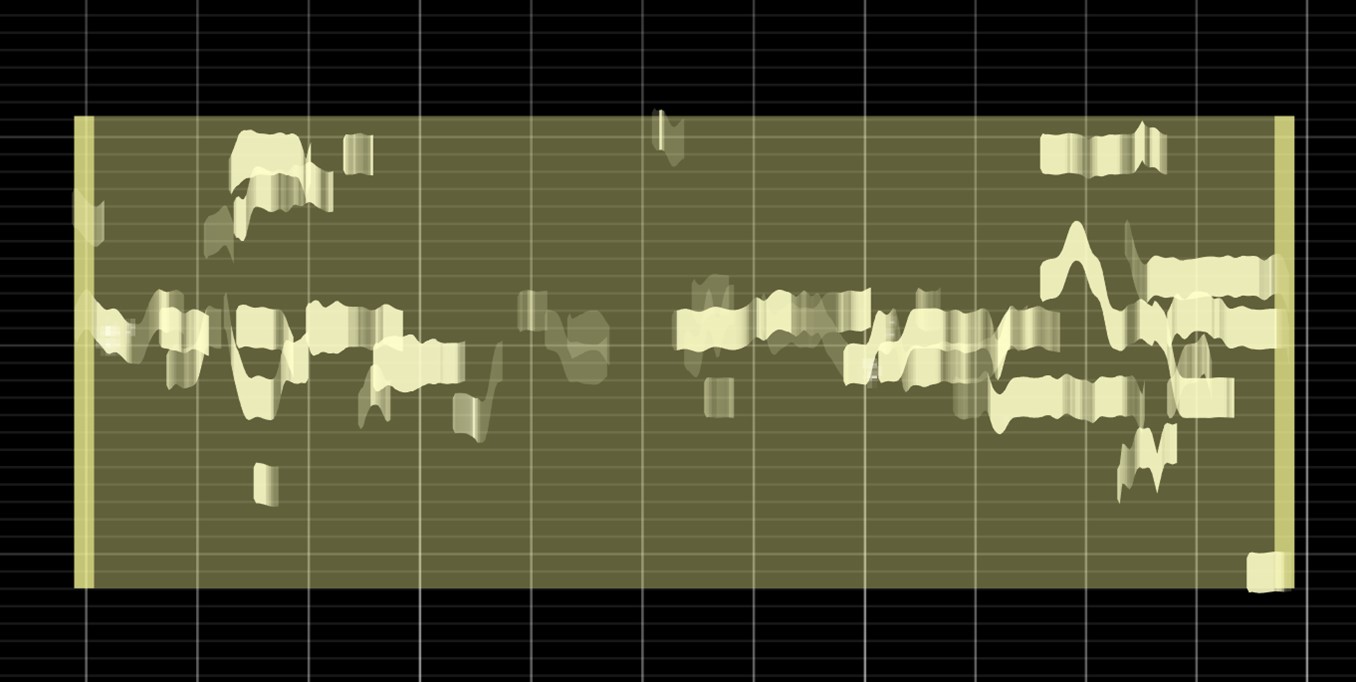
You will then see a box appear around the notes which you can easily adjust by clicking & dragging the start and end of it.
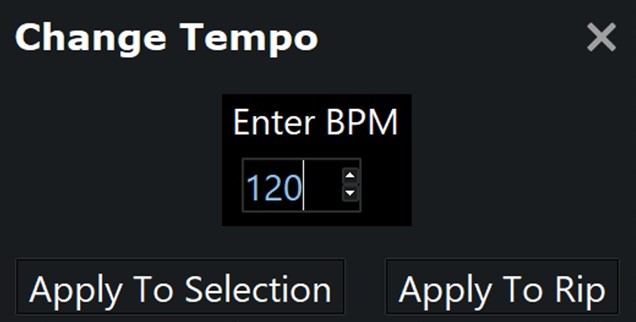
Step 4 – Change tempo plus apply and randomise effects and scales
RipX DAW is also the only software that lets you create loops from stems, and copy & paste them on the grid, change the scales used in songs, taking as a reference the keyboard and the various notes that will be displayed.

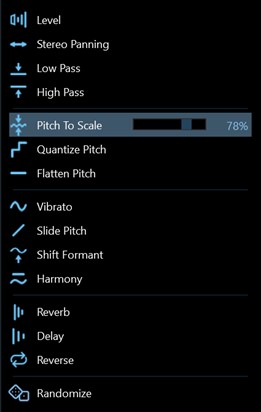
You can also apply powerful, built-in live effects ranging from Reverse to Delay to Vibrato. Add Harmony to thicken out an acapella, Shift Formant to change the vocal characteristics or apply a Low/High Pass filter.
You can even change the tempo of the track.
To find real inspiration, apply the Randomize effect, set a loop playing and RipX DAW will automatically create variations of the audio in what we call a Ripple.

You can even play back, edit and copy & paste audio from a Ripple to your working Rip, plus loop and edit it in real-time to create further Ripples. To help find the right notes & chords, you can set the musical scale of the track – or click Detect and let RipX DAW work it out for you. Notes will snap to the pitches that belong to the scale as you change their pitch by clicking & dragging them up/down.

Turn on Auto Pitch To Scale and RipX DAW will automatically fit notes to the scale, whilst keeping it sounding natural.
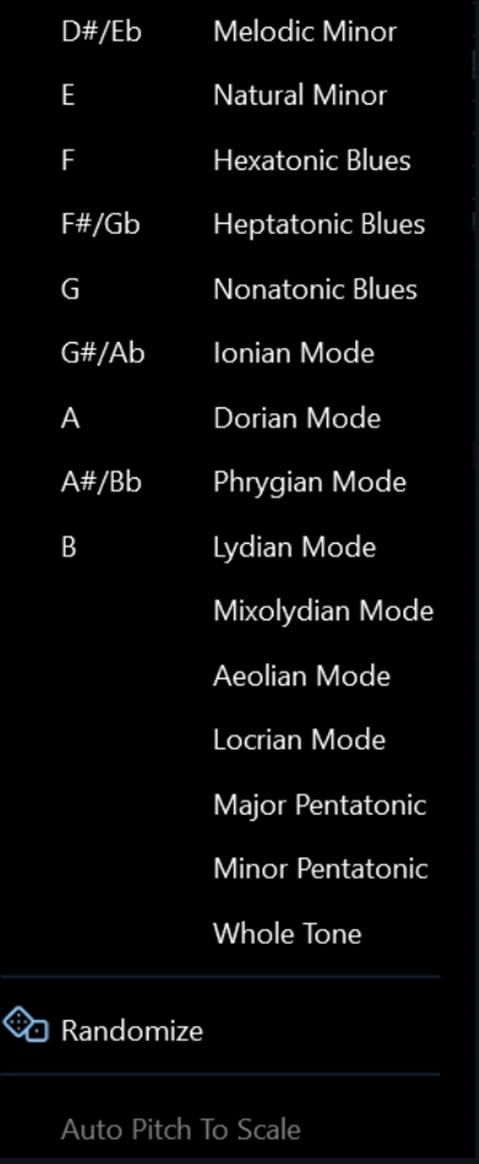
The Randomize effect means you can set up a loop and hear sections of music played back in different scales – find the one that you like best.
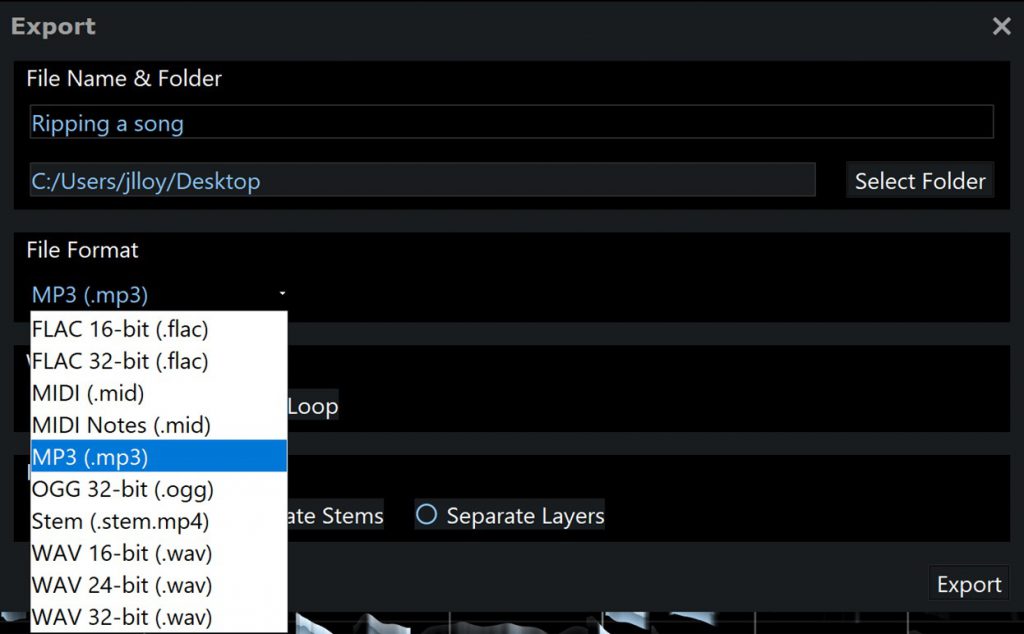
Step 5 – Export remix or stems for DJing
Once you are happy with your remix or stem separations and edits, simply choose File>Export and export as a stereo audio file in the format of your choice, or as separate stems. You can even save as Stems files (.stem.mp4) for use with Traktor software connected to a DJ controller.
Step 6 – Import and mix stems as part of a DJ set
Once exported, simply drag and drop your files onto a USB stick, eject it from your USB port/hub, slot it into your pocket or computer bag, then insert it into your DJ laptop or set of CDJ’s at the club or venue when your set begins.
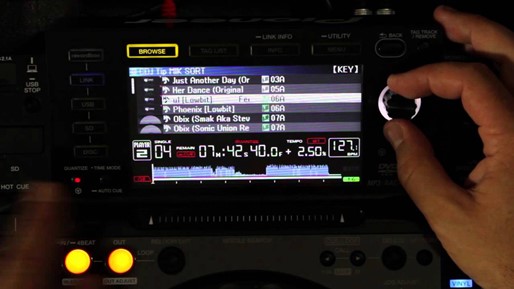
To open Stems files in Traktor and to gain hardware control of individual stems, simply load a Stem file into a Traktor Deck while your controller is connected, and the device control elements will be automatically configured for Stem control.
When you are ready, cue them, EQ or add effects to parts on your headphones, before mixing them live.
Want to learn more about stem mixing?
Watch this handy, in-depth tutorial from our friends at ADSR and please share your feedback, tips and tricks in the comments below!
Upgrade to or purchase RipX DAW PRO for advanced stem clean-up and RipX DAW’s revolutionary recording and sound replacement
On some occasions and largely depending on the qualities and density of a song’s parts, mix or master, you may find that RipX DAW’s stem-extraction results will require some additional clean-up. If this is the case, we would recommend upgrading to RipX DAW PRO to gain access to advanced stem clean-up and audio manipulation tools, enabling you to create the highest-quality extracted audio, plus tweak and edit stems at unprecedented levels of detail.
Disclaimer: RipX is not intended for use where it would infringe the copyright of any piece of music owned by a third party and is intended for lawful use only. Hit’n’Mix Ltd does not condone and in no way authorizes any user of RipX to carry out an act in contravention of the provisions of the Copyright Designs and Patents Act 1988. Any use of RipX in conjunction with such music should only be carried out with the permission of the copyright owner in question.
I was wondering, is it possible to isolate each element of the drums seperately? (kick, snare, hi hat, etc.) Thank you!
Too bad it doesn’t work on Macs without a metal graphics card 🙁